Many riders enjoy the challenge and satisfaction that comes with fixing their bike’s mechanical problems; flats, gearing tweaks, bottom bracket overhauls, new cables and so on. But there is one area where budding home mechanics struggle, irrespective of their cycling discipline – wheels.
Fixing broken spokes, buckles, dents and flat spots in your rim, not to mention building a wheel from scratch, can be problematic and daunting—often it’s simply deemed easier to take the wheel down to the local bike shop and let the experts handle it. Installing new parts can be easy but wheel repairs unusually involve an element of judgement, with varying degrees of potential for success. Hopefully by the end of this article you’ll be the go-to guy when someone from your morning bunch suffers that ubiquitous pothole ambush.
Broken Spokes
On a well-built wheel, spoke breakage is usually the result of long-term fatigue. However, this weakening is fast-tracked if a wheel is built with insufficient or very uneven spoke tension. Tight and even spokes remain under tension throughout the wheel revolution whereas poorly tensioned ones sag at the bottom of every revolution and stretch at the top as your body weight hangs from the spokes. Sure, the spoke may eventually fail during a sprint but your raw power mightn’t be to blame—it’s this constant tight-then-loose cycle with every wheel revolution that fatigues the spokes. Excessive tension can result in spoke failure but this is less common (in fact, over-tightening is more likely to lead to cracking at the rim or hub).
Spoke failure can also be caused by drivechain damage. A maladjusted rear derailleur can pitch the chain into the spokes, and if you’re pedalling hard, damage is inevitable. The spokes mightn’t break there and then but it’s best to replace them before they fail at an inopportune moment. Better still, take preventative measures and ensure that the rear derailleur is straight and properly adjusted.
If you break a spoke during a ride, you should still be able to limp home. It’s common for traditional spokes to break at the ‘J-bend’ down near the hub. If this happens, simply pull the spoke away from the hub and unwind it from the nipple. In some cases you may need a tool to hold the nipple still, or you can wedge it in place by holding the spoke on an angle. Removing the damaged spoke ensures that it won’t flap around and get caught in the drivechain. That said, you might choose to leave the spoke in place on deep profile rims to prevent the nipple getting lost inside the rim cavity (it’s a pain to fish them out afterwards). You may also need to leave the spoke if it fails at the nipple end on the drive-side of the rear wheel—in this instance the proximity to the cassette makes it impossible to get the damaged spoke out. If the spoke has to stay, wind it securely around an adjacent spoke to prevent further problems.
With one spoke missing, the wheel will wobble from side-to-side. Back off the brake via your cable adjuster or the quick release so that the wheel can pass through (don’t go too far or you’ll have no brakes). Give the wheel a spin to check that it doesn’t contact the frame when riding—you don’t want wear a hole in your frame or blow out the sidewall of your tyre whilst trying to get back.
Once home, head down to the local bike shop to buy a new spoke and nipple (replacing the nipple mightn’t be necessary but it ensures that it and the spoke are a perfect match). Take the wheel to the store to make sure that you get the correct length and type of spoke. Whilst you are there, check that you have the appropriate spoke key for your wheels. Also be aware that some wheels use proprietary spokes and nipples that may need to be specially ordered. These wheels could require special spoke tools and the repair procedure can vary a little too (the nipples may be located at the hub for example, or they could thread directly into a specially made rim). For the sake of simplicity, we’ll focus primarily on ‘traditional wheels’ but conceptually the truing (straightening) process remains the same with just about any type of wheel.
If you are repairing the rear wheel, it helps to remove the cassette (this is done with a chain whip and a cassette lock ring tool). With the cogs out of the way, you’ll have full access to the drive-side hub flange and there will be less contortion required if you’re feeding the spoke through the left-side spoke flange. It’s also a good idea to remove the tyre and rim strip—this makes wheel truing easier and lets you access the spoke nipples.
Re-insert the new spoke through the vacant hole in the hub and wind the nipple onto the threaded end. Make sure you mimic the lacing pattern of the existing spokes – on most traditional wheels the spoke will cross three others, going over two and under one en route to the rim. With the nipple in place, apply gentle tension using the spoke key and the wheel should pull back into shape. Wheel truing is the final step in resurrecting the wheel, and this requires some patience and a little know-how to perfect.
Truing Tools
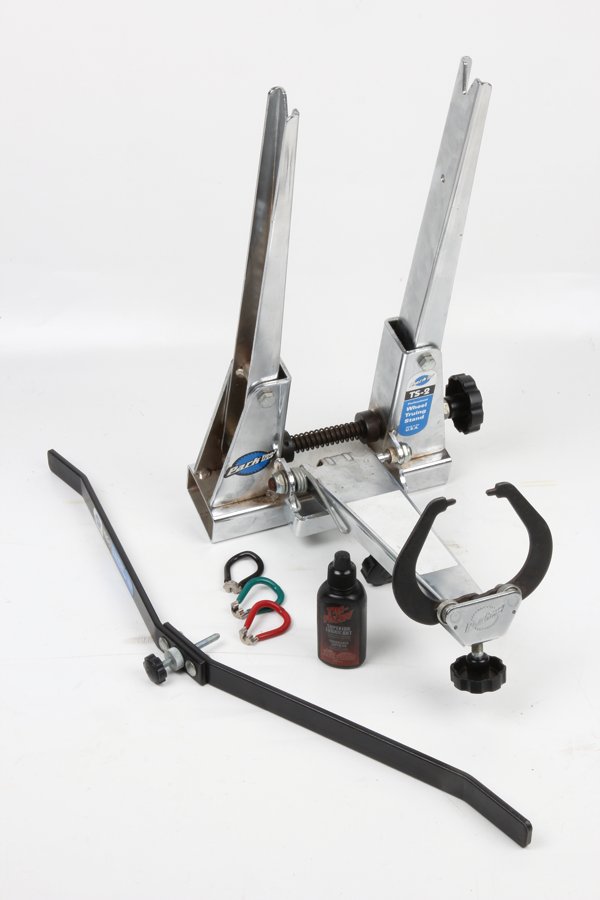
While there are makeshift alternatives, using the correct tools allows you to do a better job. Wheel truing stands make it easier to see where the wheel is out of alignment—both side to side and up and down. A high quality truing stand like the Park TS-2 (pictured) will set you back around $600 but cheaper ‘home workshop’ stands can be purchased for around $80. The wheel dishing tool is not an essential item for minor truing jobs but will prove worthwhile when fixing problematic wheels or if you take the next step into wheel building. Dishing tools allow you to check that the rim will sit in the middle of your frame. Spoke keys are obviously an essential item and a little lube doesn’t go astray.
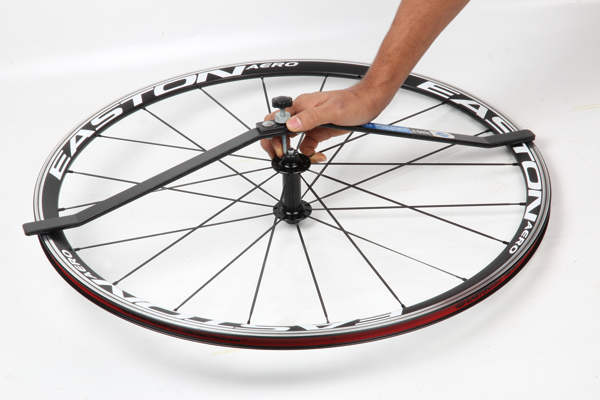
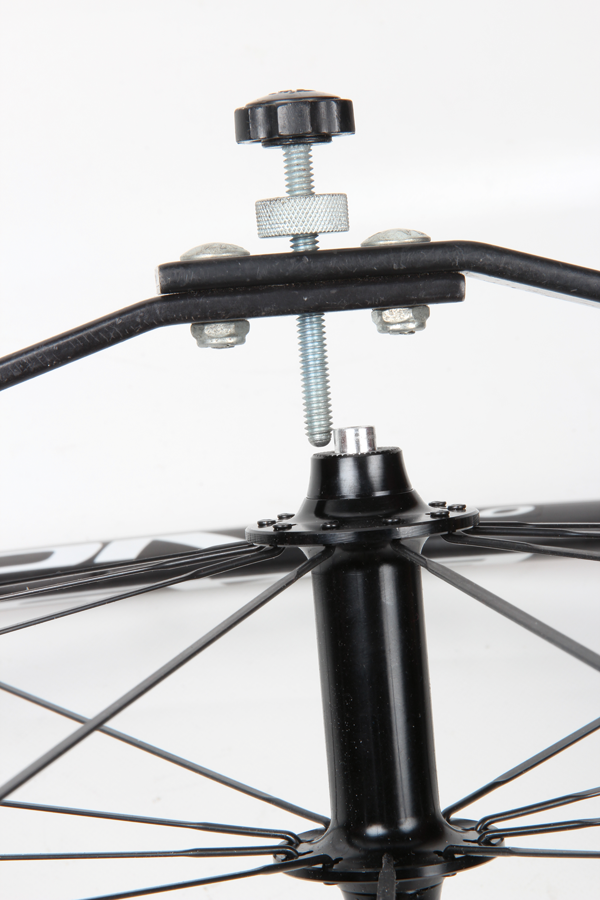
Makeshift Stand
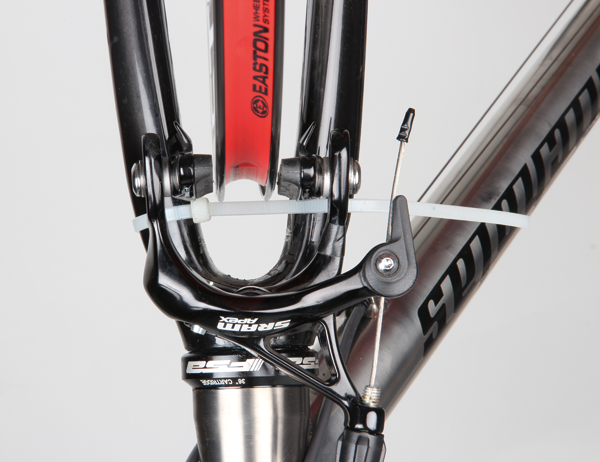
You can always improvise and make your own truing stand. Just remove your tyre and refit the wheel. Use the brake pads to gauge the side to side alignment. A cable tie placed around your seat stay or fork can be used to sight any up and down movement in the rim.
Key Issues
You may choose to skimp on the quality of your truing stand but don’t skimp on your spoke key! Poor quality or ill-fitting spoke keys can damage and round off the spoke nipples. This leads to the frustrating job of replacing the nipple when you can no longer turn it—cutting the spoke out and replacing both spoke and nipple is the usual outcome. This is best avoided by selecting a tool that offers a tight and secure grip on the nipple.
Slippery Nipples
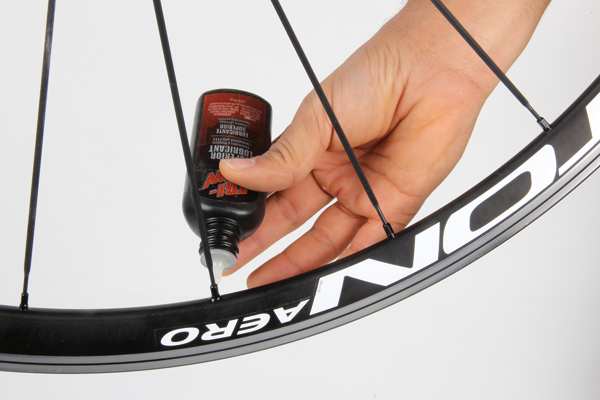
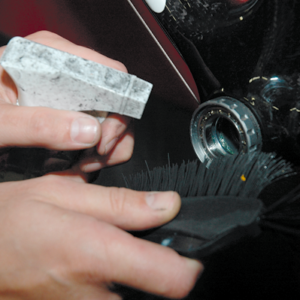
A little light oil placed on the spoke threads and between the nipple seat and the rim can make the truing process easier—especially on older wheels. It will make the nipples easier to turn and gives you a better feel for the spoke tension. You will also be less likely to twist and ‘wind-up’ the spoke as you turn the nipple. Just make sure that you wipe the rim over with some solvent or degreaser afterwards to remove any oil from the braking surface.
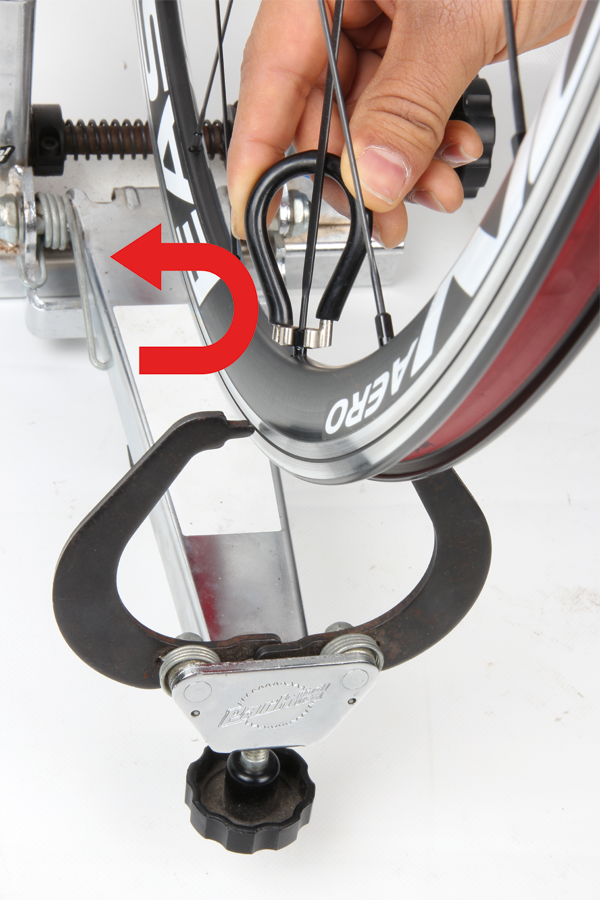
Nipple Tightening

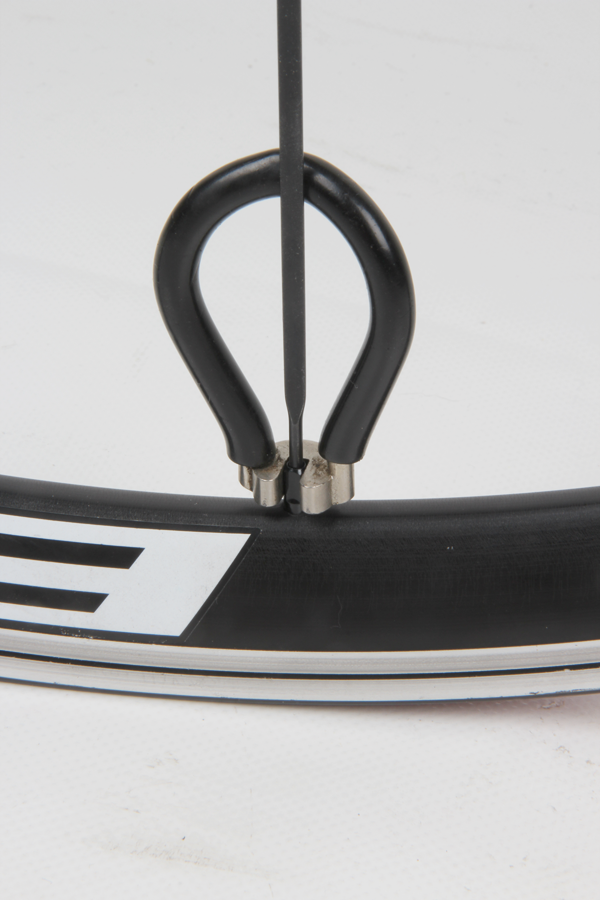
Ensuring that you turn the nipple in the right direction will save you from creating your own wobbly wheel headaches. Wheel truing is typically done while looking down on the rim from the inside. From this aspect the nipple needs to turn in an anti-clockwise direction to tighten the spoke—yes, it’s counter-intuitive but that’s the way it works! This thinking needs to become second nature before the wheel truing process becomes fast and fluid.
Basic Principles
Once you get a handle on the basic principles, the rest is down to practice. Study the wheel from this angle and you will see that some spokes go to the left flange while others go to the right—on ‘traditional wheels’ they alternate from left to right with every spoke. Tightening a spoke that goes to the left flange will pull the rim to the left. Tightening a spoke that goes to the right will have the opposite effect. Conversely, loosening a spoke that travels to the left will let the move away from the left side and so on. While this sounds incredibly simple, the key is to know how much to turn the nipple to get the desired result.
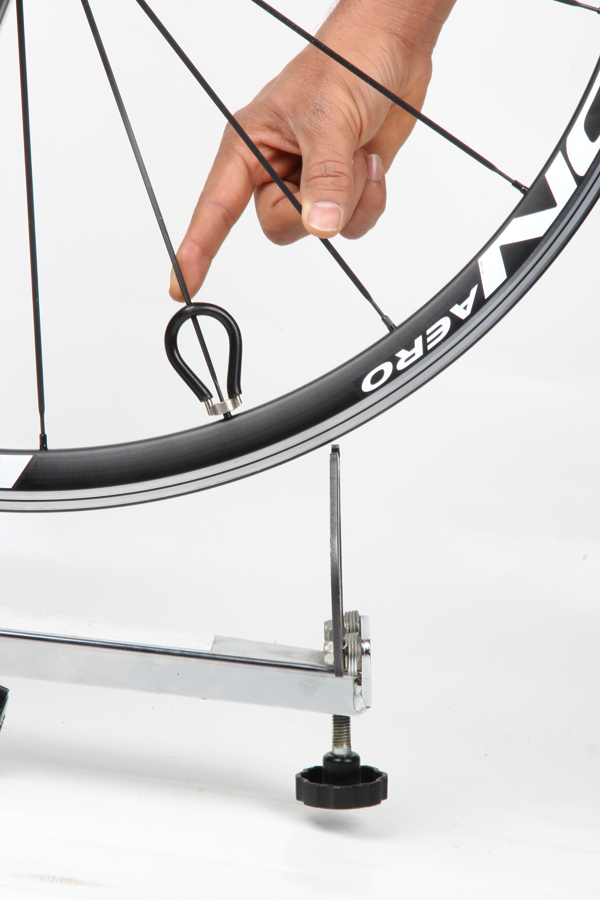
Lateral True
This refers to the side to side adjustment of the rim. It is the easiest aspect of wheel truing and the one that you are most likely to use. Adjust the guide on your truing stand so that it just touches the rim where it is the furthest out of alignment. If the buckle goes to the left, tighten the closest spoke that travels to the right side hub flange. You could also choose to loosen the nearest left side spoke to achieve a similar result. Only turn the nipple a quarter to half a turn at a time. Make small adjustments and check to see if you are getting the desired result at the rim.
Deciding whether you loosen or tighten the spokes depends on the overall spoke tension around the offending area. If the spokes have low to moderate tension, it is best to tighten the spokes to true the wheel. If the spoke tension is already very high, loosening the spokes may be the way to go. This decision will become easier with experience as you will get a better feel for what is the ‘right’ spoke tension.
Vertical True
This is the second aspect of wheel truing and it is far more difficult to control. Use the wheel truing guide to find the high spot in the rim. Next, locate the two closest spokes to the high spot. To pull the rim in, you need to evenly tension both left and right hand spokes. As with the lateral true, make small adjustments and check to confirm that you are getting the desired result. Where there is a distinct low spot and the spoke tension is high in that area, the nipples can be loosened to release the rim. No matter how evenly you adjust the left and right hand spokes, altering the vertical true will inevitably affect the lateral true. Always check the rim for straightness afterwards.
Wheel Dish
The third and final aspect that you may need to consider is the wheel dish. You probably won’t need to worry about this if you are just replacing a broken spoke or fixing a localised buckle. It’s only likely to be a concern when troubleshooting on a poorly aligned wheel. In any case, the rim should be located centrally between the axle ends (where the locknuts or equivalent but up against the frame or fork). To obtain a central location, the right side spokes on a rear wheel will be tightened more that the left as the presence of gears forces the right hub flange inboard by some distance. The wheel dishing tool allows you to check whether the distance from the rim to the axle end is even on both sides. Don’t use your seat stays as a reference, as they can be intentionally asymmetric or just out of alignment. Centring the rim is done using the same technique outlined in the ‘lateral true’ section—to move the rim to the left, give every left side spoke a quarter turn and repeat until the rim is centred.
Even Tension
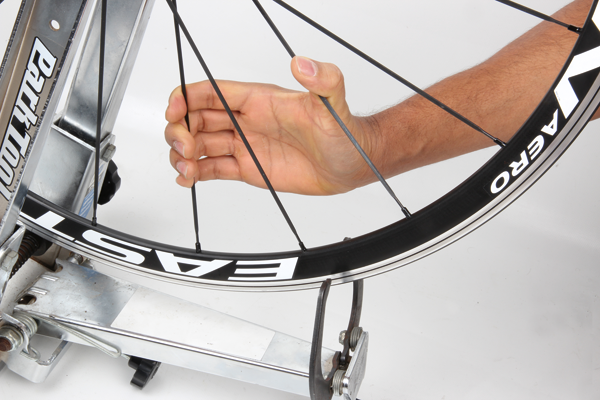
While we have outlined three different aspects to wheel truing, a master wheelsmith needs to consider all of these concurrently as each tends to affect the other. For example, pulling the rim to one side to adjust the lateral true may affect the wheel dish. This is why you need to true with caution and check your progress after each turn. The key to a strong and reliable wheel is firm and even spoke tension. A true wheel won’t remain straight for long if some spokes are excessively loose. Spoke tensiometers can be purchased to measure spoke tension but general wheel truing experience should provide you with a good feel for what works. Work your way around the wheel grasping pairs of spokes and simply squeeze them together. While the right side rear spokes will be tighter on a geared wheel, the overall tension should be firm and even. Practice is the key with wheel truing, so start by honing your skills on an old set of training wheels and leave your good wheels to an expert until your confidence builds.
Major Buckles
So now you know how to true a wheel by adjusting the spoke tension, but what do you do when the damage is catastrophic? If your wheel is ‘potato chipped’ or ‘pringled’ (this usually only occurs in event of a crash) you’ll probably be up for a new rim. A desperate measure to rectify this situation if you’re out on the road with no other way home is to hold the rim at ‘ten to two’, with both hands over your head and whack the buckled section firmly on the ground in front of your feet. The objective is to ‘snap’ the rim back into shape. As I say, this is an extreme option, one which should be only used in emergency as a ‘get me home’ at low-speed repair.
Rim Dents
Dented rims mightn’t be an everyday occurrence on the road but it can happen if you hit a deep, square-edged pothole or a sizable chunk of road debris. The fix for this is quite simple, however the effectiveness of the repair will be determined by the size of the dent:
• Remove your wheel from your bike and also remove the tyre and tube.
• Rest a flat plate of metal such as a cone spanner against the outside of the rim next to the dent (the dent will almost always be towards the inside of the rim).
• Using an adjustable wrench, work the rim back into shape alongside the flat spanner.
• Ensure there are no visible cracks or jagged edges that might pierce the tyre or cause the rim to fail.
• Putting your tube and tyre back onto the wheel, you should barely be able to notice the dent.
Rim Tape
There are a handful of wheels on the market that don’t require rim tape—they won’t have any holes on the inner wall of the rim where the inner tube rests. In every other case, the rim tape plays an important role in puncture prevention. If you’ve had the tyre off to true a wheel, or if you’ve removed the rim tape to replace a spoke, it’s important to inspect the condition of the tape and replace it where necessary. While you are at it, look for any burrs or sharp edges on the rim and smooth them off with some fine emery paper. When replacing your rim tape, make sure that you use an appropriate width. Tape that’s too narrow may slide sideways, exposing the spoke holes and causing punctures while going too wide may make tyre mounting difficult.
Brake Track
If you are putting in the big miles on a single set of wheels or if you do lots of heavy braking in wet and grimy conditions, the brake track on your rim will gradually wear out. As a result it will lose strength and may become prone to cracking. This is a real danger as the tyre can blow off the rim whilst riding, so you need to know what to look for. Some wheels have wear indicators in the form of grooves around the circumference, or a few shallow circular indents on the brake track. When you get down to the bottom of the groove or the indents disappear, it’s time for a new rim. If there are no wear markers, inspect the rim and replace it when it shows obvious signs of thinning out or if there are any deep grooves through the brake track.
Hopefully you now have a full overview of the most important components on your bike. A good set of wheels is a fantastic investment for speed out on the road. However they will only perform and last the distance if they are well maintained, so it pays to know how to go about fixing problems when they arise.