Drones are a popular addition to any photographer’s kit bag, but one that follows you on your bike is must have accessory for cyclists.
Despite being a ‘writer-type’, I also love technology. One of my early jobs was with Panasonic, and I thrived on learning about new gadgets. So when HoverAir asked me to test a new drone, I jumped at the chance.
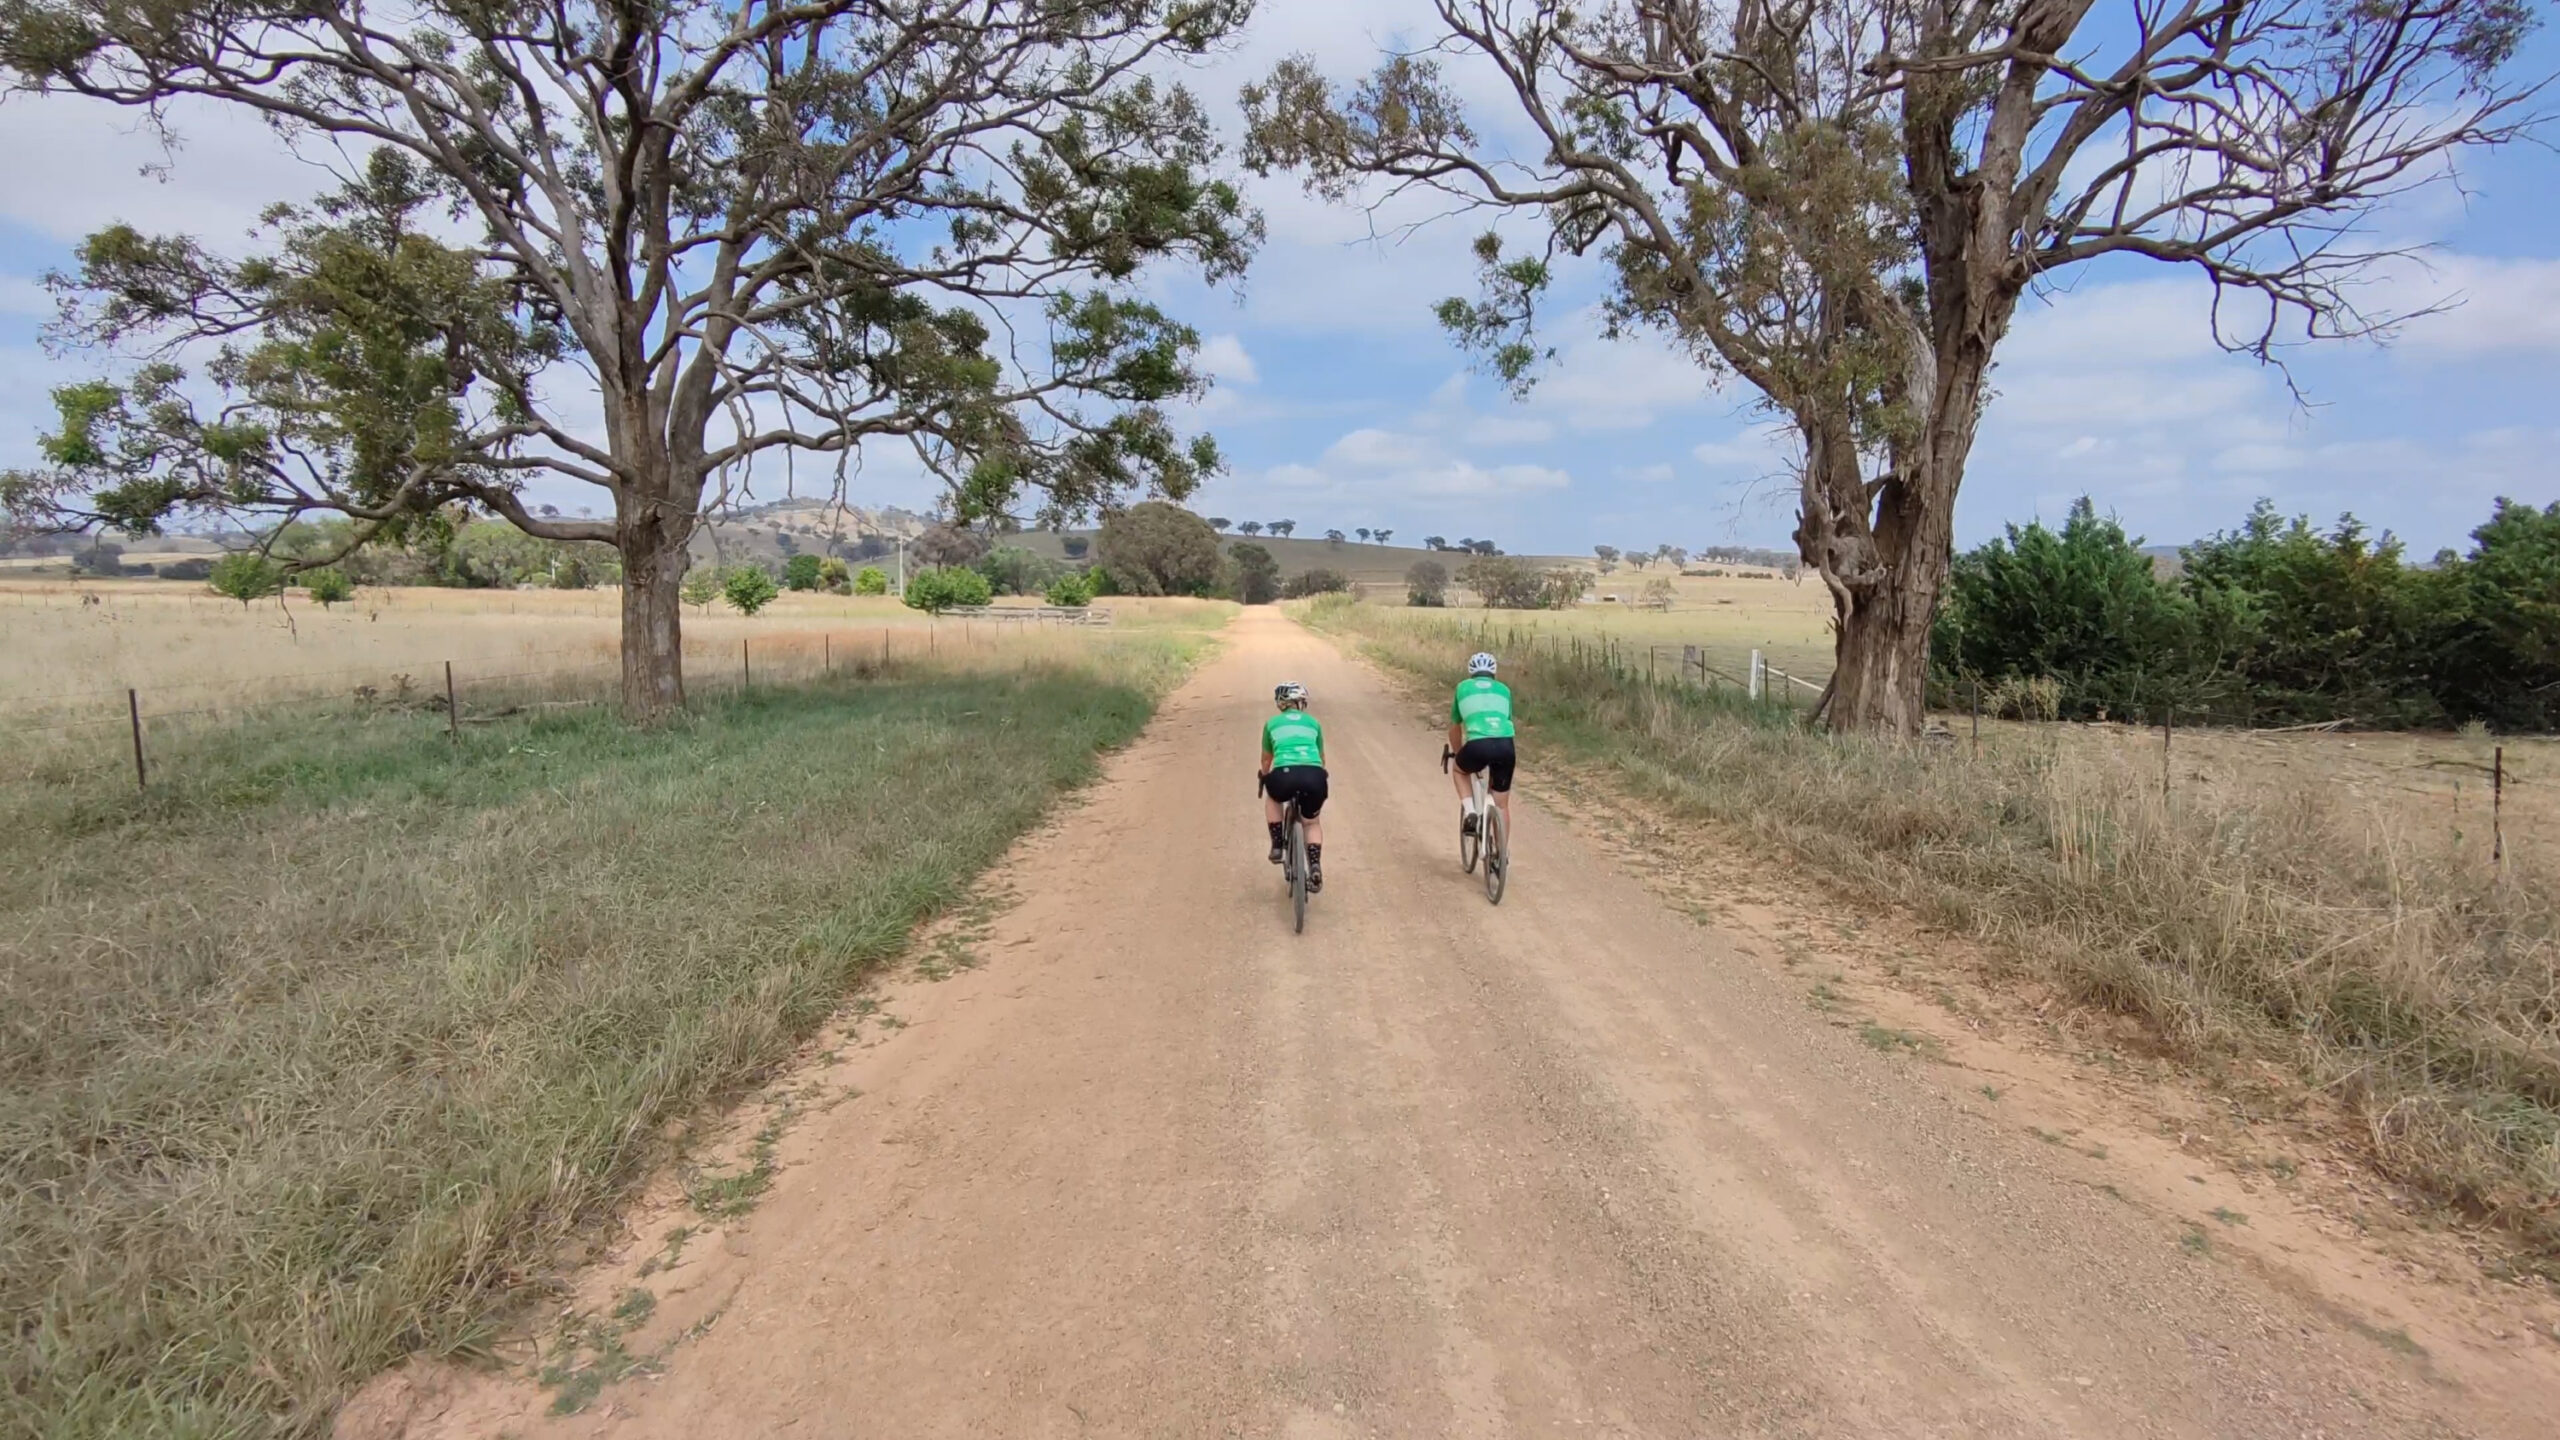
Drones are not new, but ones that incorporate the ability to follow their subject without operating any controls are the latest must-have gadget for cyclists who like to record their rides from every angle.
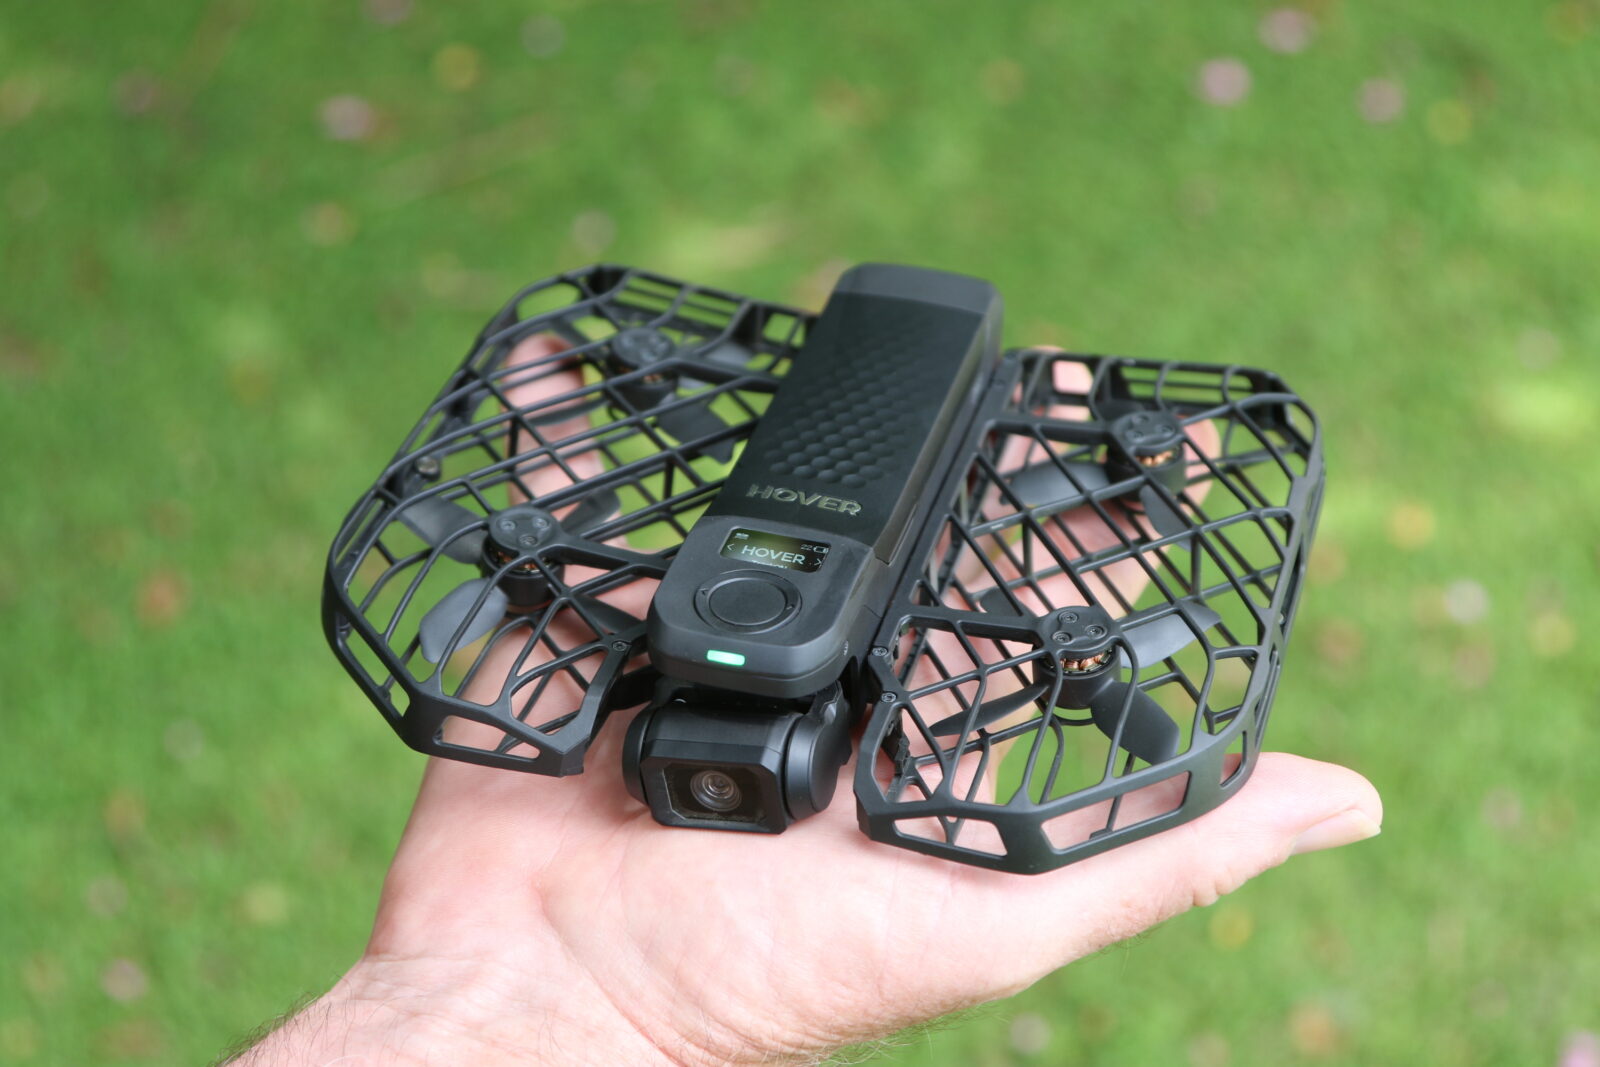
I tested the new HoverAir X1 Pro, a 4K/60fps flying action camera that lived up to the hype. It does have a few shortcomings like it will only fly for 16 minutes at a time and will only follow you up to a maximum speed of 42 km/h, but it’s still fun.
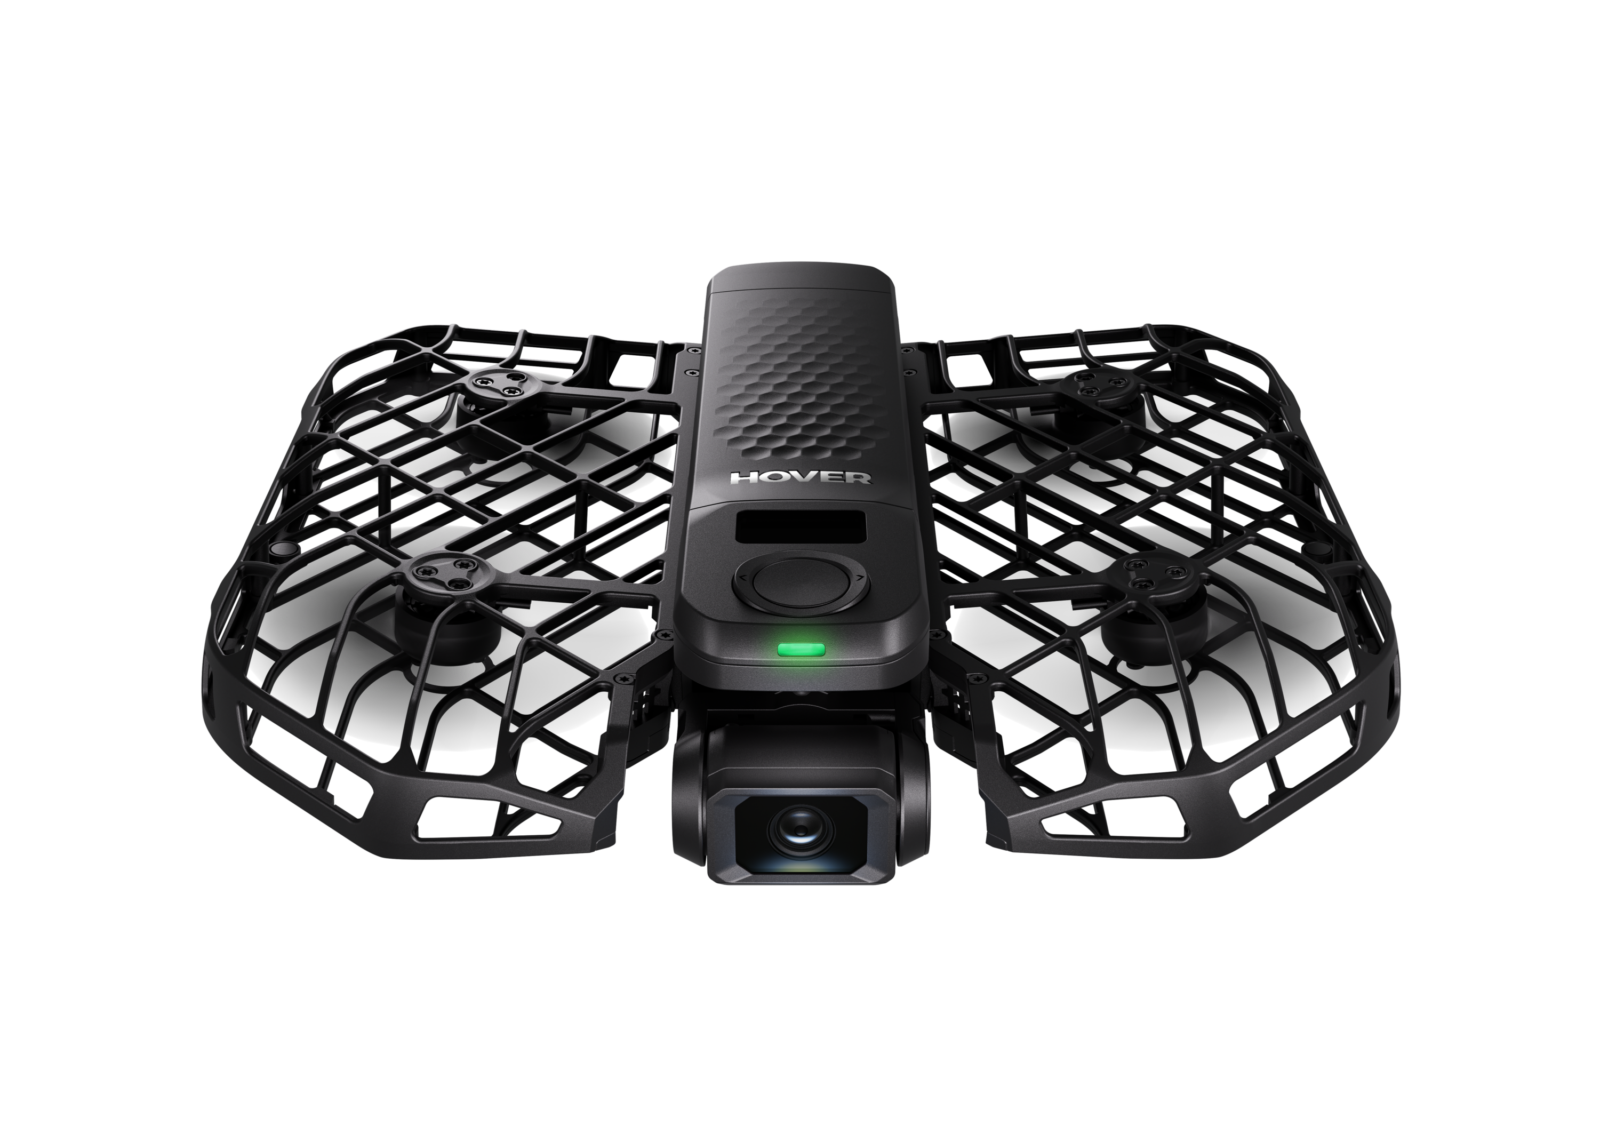
It is compact and folds neatly to carry in a cycling jersey pocket, albeit a largish pocket. Folded, it measures 149×105×34mm, similar to my iPhone’s length, about 3cm wider, and about three times the thickness. So, you wouldn’t put it in your pocket for every ride, but it can certainly fit in a generous-sized pocket for a special occasion.
It is also lightweight at only 192 grams with a battery fitted, 38 grams less than my iPhone!
Flight modes
Specifications are one thing; how it actually works is quite another. Being the tech lover I am, I tried out every mode but found the two that worked best for riding: ‘follow mode’ and ‘dolly-track mode’. As the name suggests, ‘follow mode’ follows you from behind and can be set to follow from a close, mid or far distance, and travel at a high, flat or low altitude. The specifications say it can travel up to a height of 120 metres.
We adjusted the settings according to the terrain. For example, we set it high if there weren’t many trees. If obstacles were present, it was better at flat or low altitude. However, it is fitted with crash detection, so it should theoretically go around any obstacles.
The other mode is called ‘dolly-track’, which means it travels in front of you with the camera pointed towards the subject. This mode wasn’t quite as smooth as follow mode in that it seemed to surge a bit, and I felt like I would catch up with it several times. I suspect that with practice, it will be smoother.
The other modes that work primarily when you are stationary are fun to capture vistas, like hover mode, which hovers in front; orbit mode, which circles around and zooms out; and bird’s eye mode, which goes straight above.

Hover app
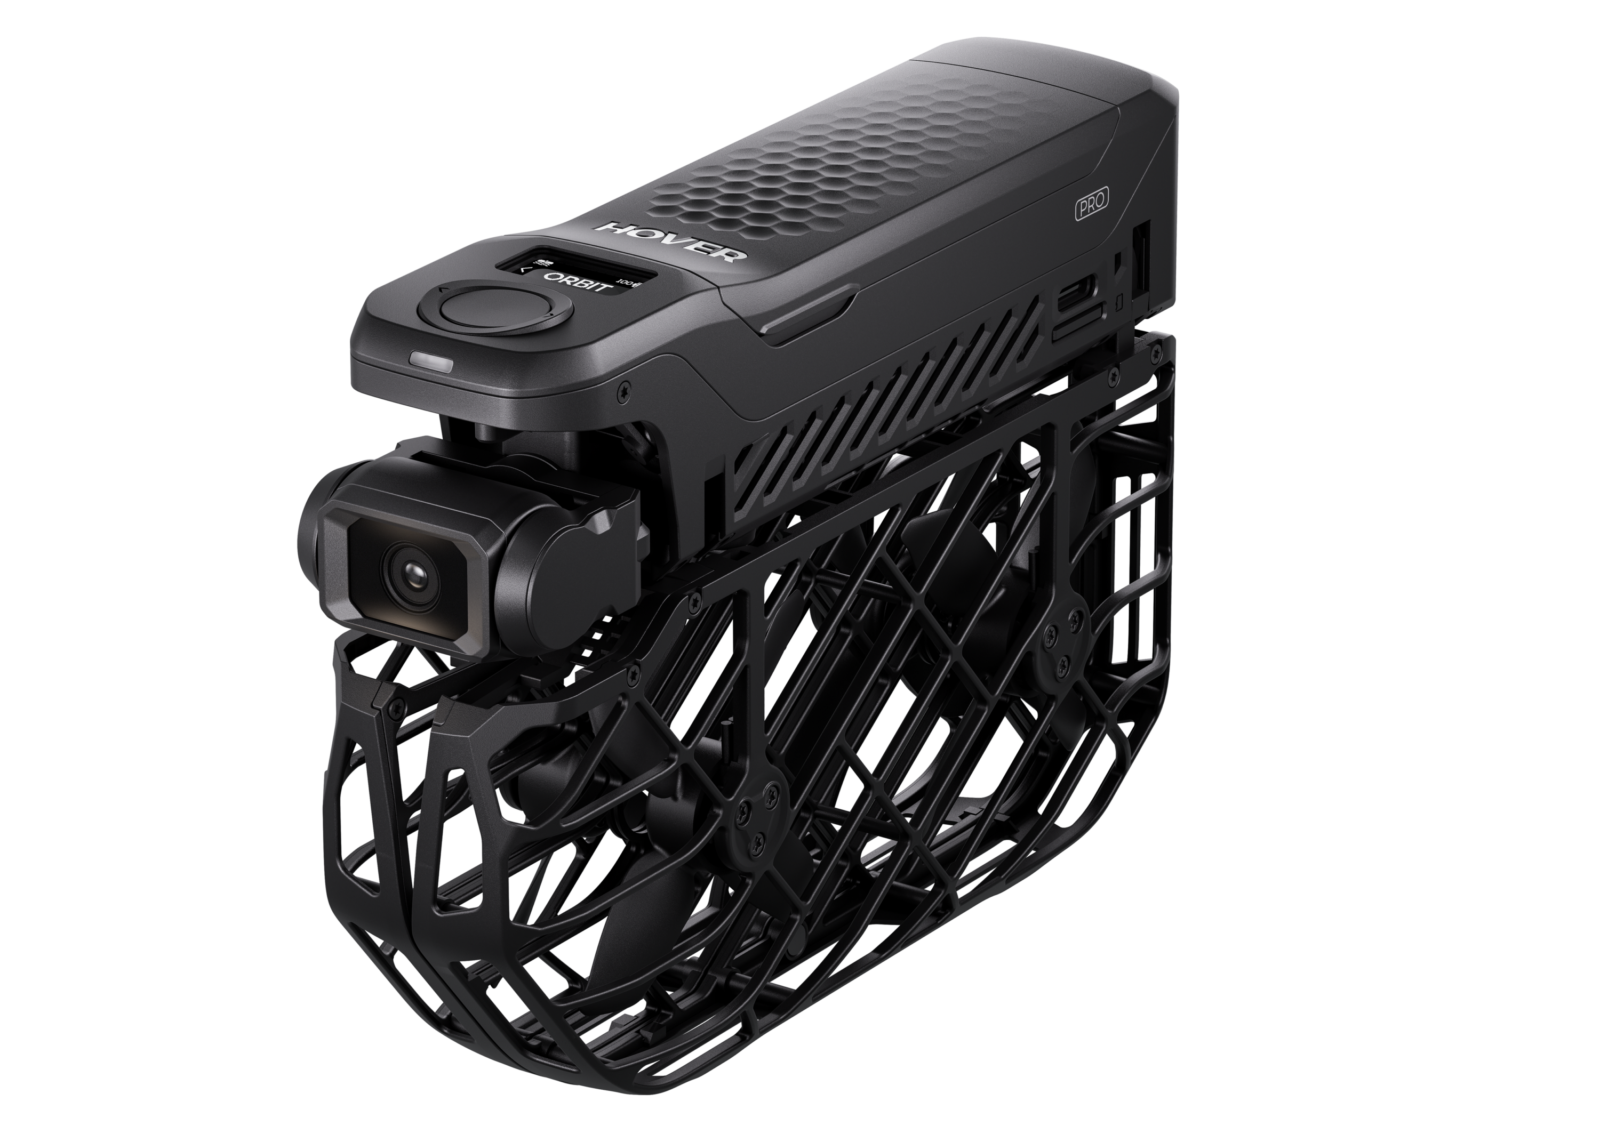
The controls are intuitive and best controlled with the Hover phone app, which has a range of 500m from the drone. To start a flight, you set it to the mode of your choice, place it on your palm with the camera facing the person you wish to track, and press the button. The camera locks onto the subject and then takes off.
It took a few practice runs to get this right, but I’m sure I would have it down pat with time. I even managed one crash landing, but it survived unscathed, partly because a flexible plastic frame fully protects the propellers.
On the app, you can preview it live, although I wouldn’t recommend this while you’re riding! You can also see a short preview after recording via the app or download the whole video to view on your phone. For most of my use, I downloaded the videos to my computer by connecting the drone to my laptop via a USB cable.
Resolution, storage and charging
The video resolution is 4K@60fps and 1080P@120fps in slow-motion mode, and it looks impressive on small and large screens. It has a 104-degree field of view.
I found the 32GB internal storage adequate for the videos I shot, but it also supports SD cards up to 1TB. The model I tested included two batteries, which is a great idea, considering each battery only gives 16 minutes of flying time. The batteries can be charged in the drone by plugging it directly into the power or in the supplied charger that holds two batteries. I also carried a power bank when I was out and about to give it a top-up.
The recommended retail is around $850. More information hoverair.com
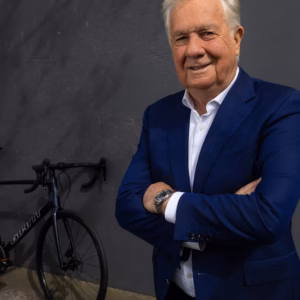
Nicola Rutzou – a long-time contributor and, most recently, the editor of Bicycling Australia. Nicola is a keen Sydney-based road cyclist who writes reviews, news, and destination pieces.