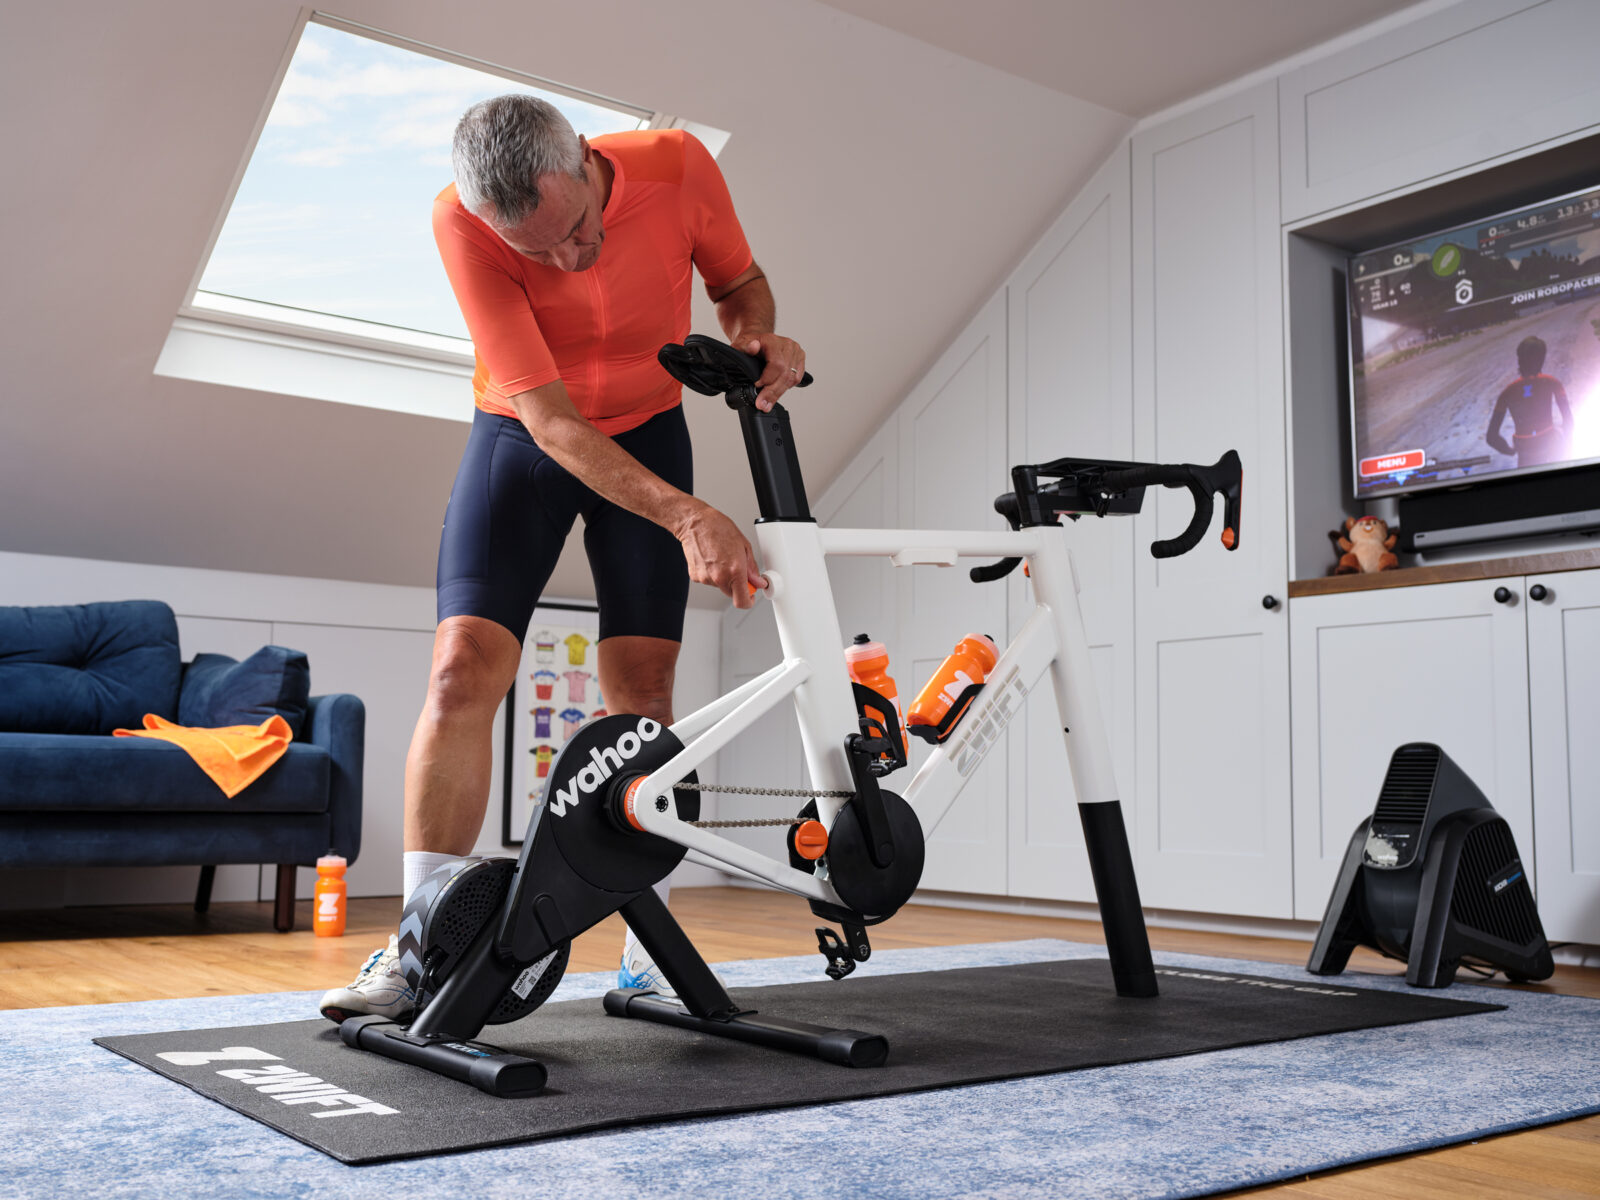
I’ve been riding a road bike for more than 17 years, and during that time have done very little indoor training. So, when the opportunity arose to test out the Zwift Ride package – Zwift Ride, Kickr Core trainer, and a Zwift subscription – I jumped at the chance.
For context, my previous infrequently used indoor trainer setup included my old 10-speed road bike, a basic indoor trainer that lifts the rear wheel off the floor (rather than removing it), and a DVD player with Spinervals interval training sessions.
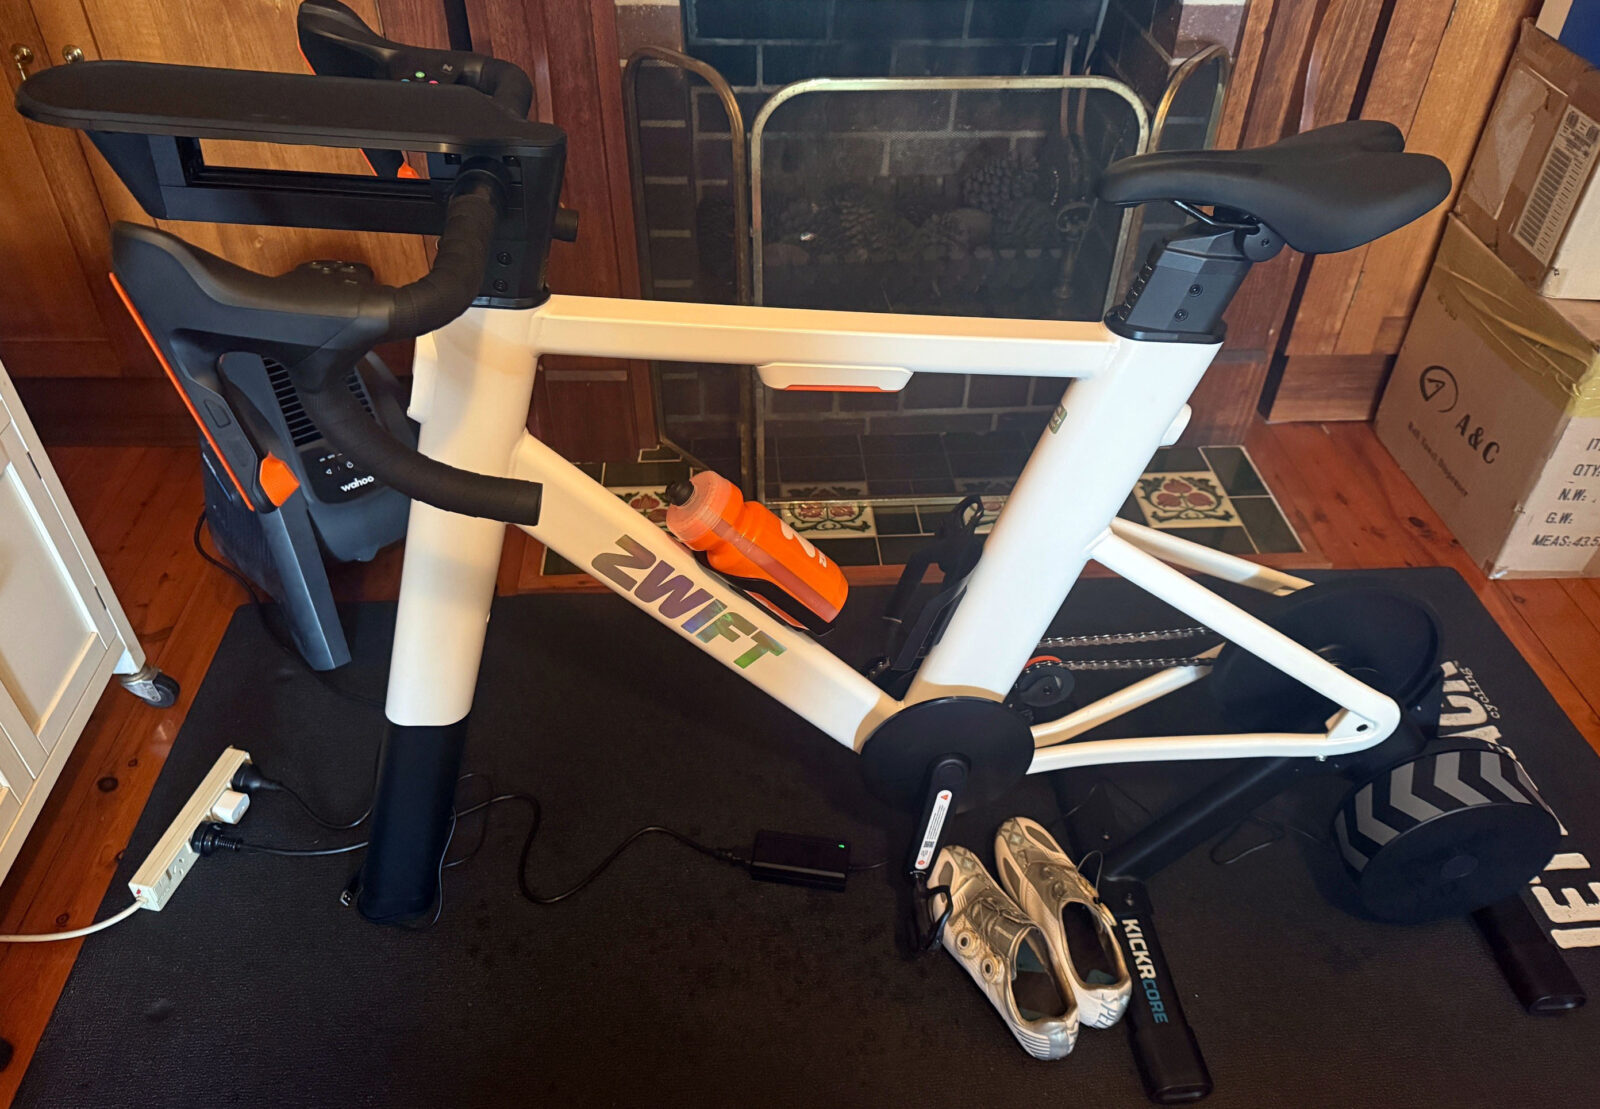
The setup I tested replaced all that with an easy-to-set-up, simple-to-operate package that I thoroughly enjoyed using.
Setting up
It came in three boxes – one large box containing the Zwift Ride frame, one medium box with the Wahoo Kickr Core, and one small box with the Zwift Ride handlebars and accessories.
When you open the boxes, you can see that a lot of thought and planning has gone into the packaging and assembly. I also headed to the Zwift website and watched the assembly videos to make sure I got it right.
With the Kickr trainer, the legs of the unit needed to be fitted, but otherwise it was ready to plug in straight out of the box. Similarly, the Zwift Ride came out of the box easily and required minimal assembly. Everything is tightened using the supplied Allen key tool, which also stores neatly under the top tube, held in place by a magnet.
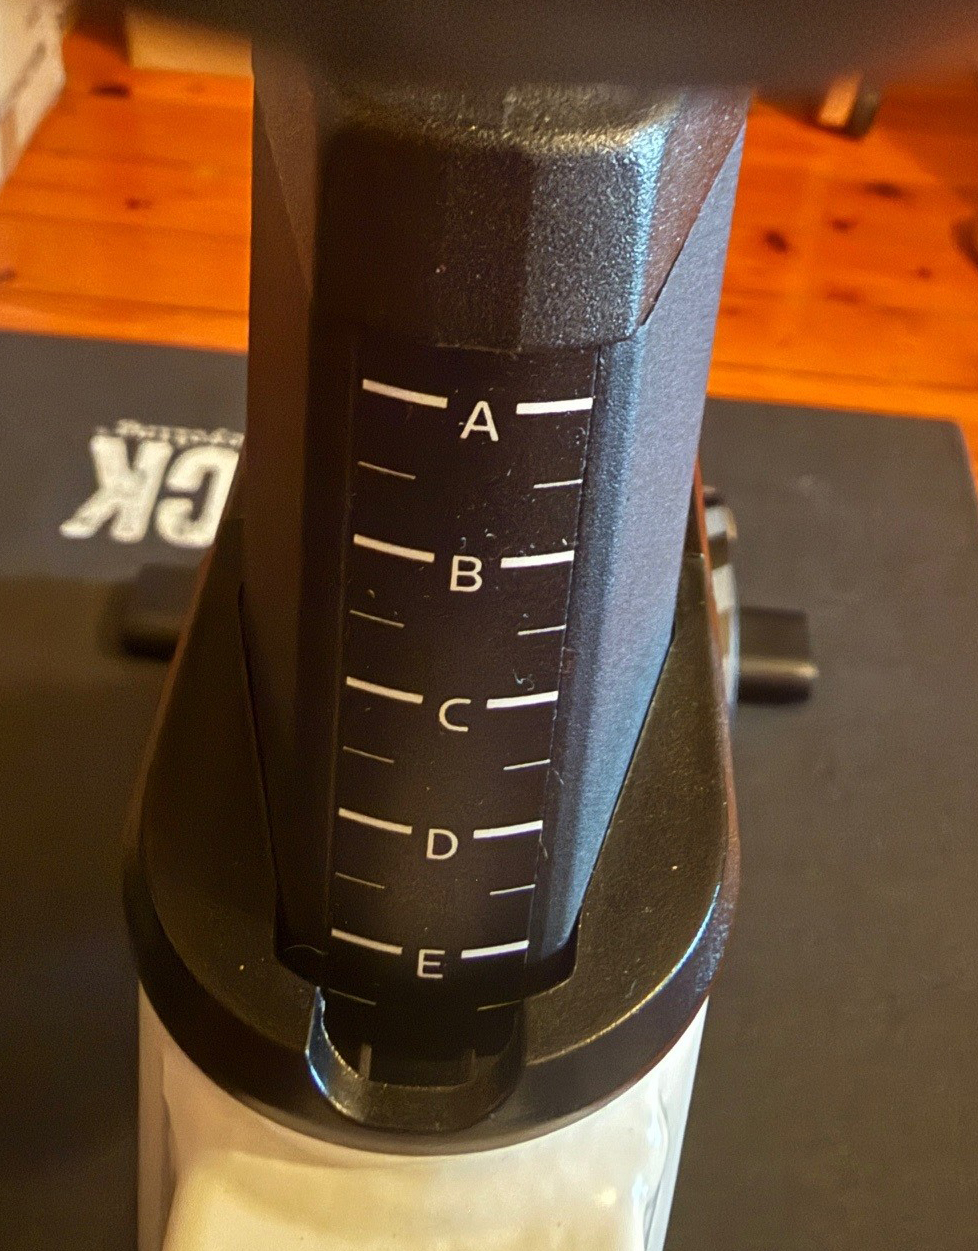
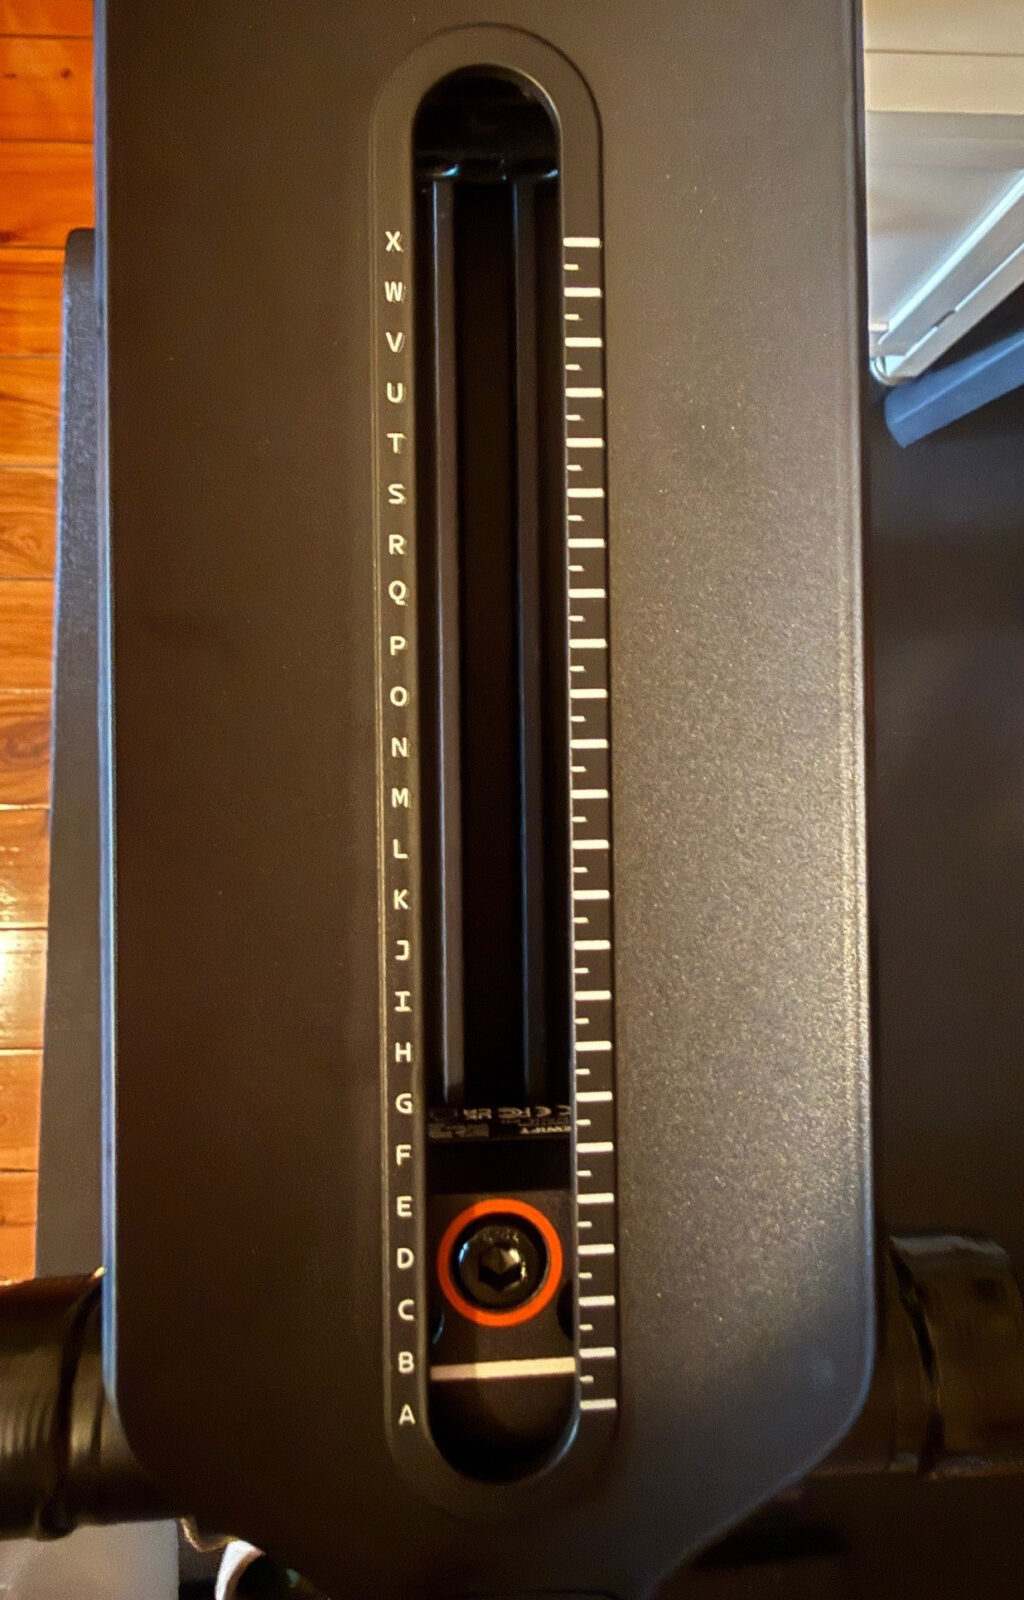
Once the unit is assembled, it needs to be adjusted, which is also straightforward. In the box is a guide to adjusting the seat heat, handlebar height, and reach, and you find your height (ranging from 152 to 198 cm). There are recommendations for which setting to use for the various components marked with letters (rather than the typical numbers). This makes it easy to reset it to your preferred position if you share the unit with other riders. My seat height and reach were set based on my road bike measurements, which made me feel comfortable and right at home from the first ride.
The only thing that I found uncomfortable was the saddle, but once it was adjusted (by lowering the front and moving it forward), I was quite content. The saddle attaches in the same way as a road bike saddle, so I understand that you could fit your favourite saddle to the Zwift ride if you preferred.
The Zwift ride comes up with flat pedals, but I fitted road pedals so I could use my cycling shoes, which is preferable for most road riders.
In use
I downloaded the Zwift app to my iPad and signed up, and the Zwift companion app to my iPhone and logged in. Both were easy to do, and the equipment (as well as my Wahoo heart rate strap) paired easily with the Zwift app.
Using the Zwift companion app, I found some rides, programs and events to try. Like any bike riding, you have the option of rolling along, turning over the pedals with minimal effort, going really hard, or something in between.
The rides I enjoyed the most were the ‘Events’ I attended, in my case run by a group I believe is based in Adelaide called the Queen Bees. The Queen Bees runs regular women-only rides, so you need to ask to join the group via the companion app before you can search for rides that suit. I enjoyed riding virtually with real people who chatted via text on the companion app, with subject matter varying from encouragement to ride harder to ‘what’s for dinner’. One of the rides was described as an ‘elastic band ride’, which means you can’t be dropped from the group even if you slow down.
The riding I found the least motivating to push myself was the rides where you can just cruise along at whatever pace you like. These ones are called ‘Routes’. Conversely, the interval rides, called ‘Workouts’, provided a big incentive to try hard to reach the ‘requested’ power figures.
Riding the Zwift ride felt just like a regular road bike, rather than an exercise bike that you might see in a gym. It feels sturdy and stable to ride with no rocking from side to side (well, not, from my fairly sedate riding).
I used the handlebar controls to change gears easily, and tried out the other controls like braking, steering, and taking images & videos. Over time, I’m sure I’d use the controls more as I try more Zwift rides, and, like everything else on this gear, they’re simple to reach and operate.
I used the gear shifting in the standard mode via the Zwift controllers on the levers, but it can be programmed to shift like Shimano or SRAM.
These controllers have integrated rechargeable batteries that purportedly last 20 hours, although I didn’t test this, preferring to keep them plugged in most of the time. In fact, my only criticism of the whole set-up is the lack of a charging plug in the box (thankfully, like most households, I have some spare ones kicking around).
I found the noise level is pretty good, similar to any current Wahoo trainer, and probably even quieter, given the lack of a rear derailleur. When ‘smart’ trainers became popular about 10 years ago, one of the major complaints was the noise they produced, so it’s great to see that this issue has been addressed.
Summing up
The Zwift Ride setup is impressive, and perhaps at a retail price of $2,299.95, it should be, but if you bought just the Wahoo Kickr Core ($899.95 Retail) and a cheap bike to put on it, you’d be up for a similar price.
The other cost is the ongoing $ 30-per-month Zwift subscription, but you can use the equipment with other online training platforms (although I believe there is reduced functionality for the Zwift ride controls).
It was the first time in my indoor cycling career that I looked forward to my indoor trainer sessions. It gets my vote.
More info here.
Nicola Rutzou – a long-time contributor and, most recently, the editor of Bicycling Australia. Nicola is a keen Sydney-based road cyclist who writes reviews, news, and destination pieces.