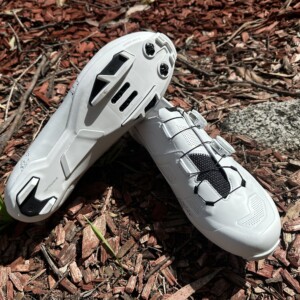
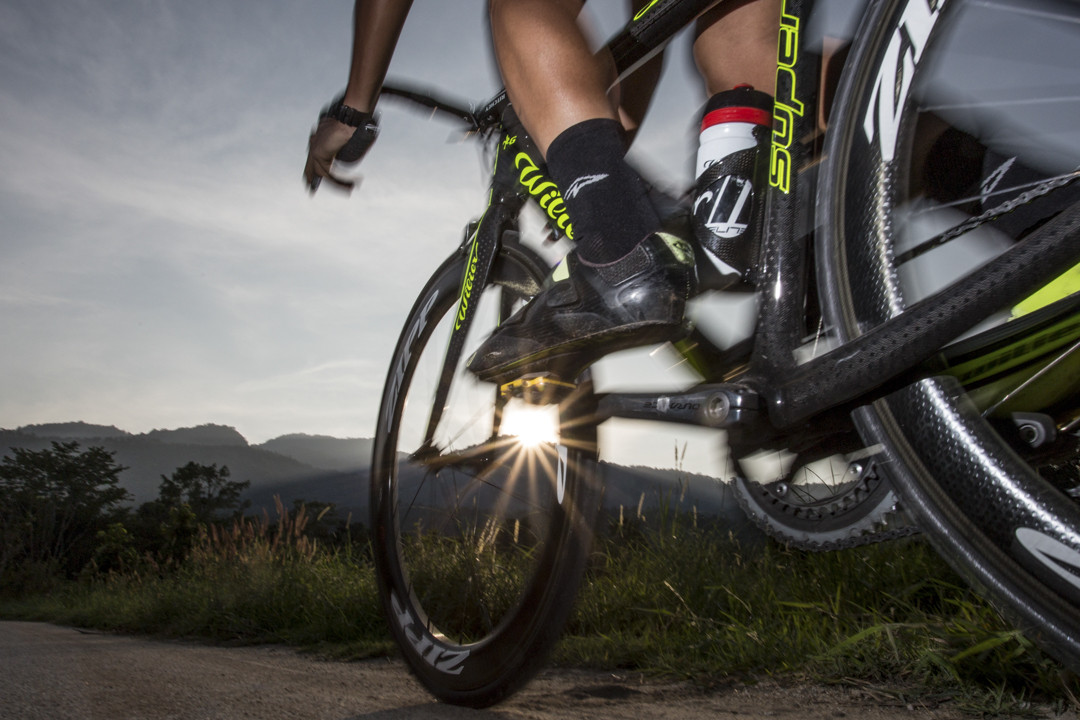
You’ll have no doubt seen plenty of epic, inspiring cycling images over the years, and maybe wondered how to create something similar yourself.
These days, with mobile phones and affordable digital cameras everywhere, it is easy to assume anyone can take a good photo. In some ways that is true. Most of us have the tools. But making great images is something else entirely.
As with cycling, having the gear is one thing, but it is the rider that matters. I believe the same applies to photography.
This feature is aimed at riders who either own, or are thinking about buying, a mirrorless camera and want to lift their photography. That said, the fundamentals apply to almost any camera.
For now, we will skip race photography. It is a specialised field, but the basics here will help with any kind of cycling image and help you take better photos of you and your mates out on a ride.
All the gear?
If you already own a mirrorless camera, and maybe a couple of lenses, start with what you have. Almost all modern cameras are capable of excellent results in the right hands.
If you are looking to buy, do not get caught up in hype or specifications. Most cameras from the past decade, and even earlier, are more than capable when used well.
Because you will likely be carrying your gear on the bike, keeping things small and light is key. I moved away from large DSLRs years ago in favour of compact mirrorless setups for everyday riding.
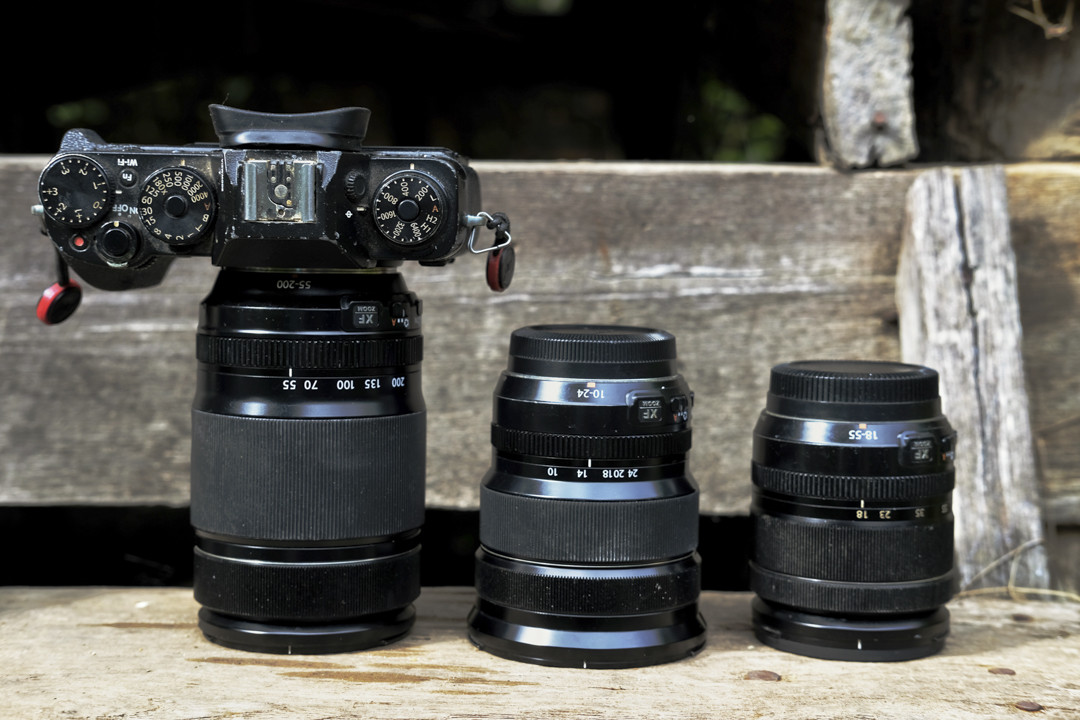
Depending on the ride, I will carry an older Fuji X-T2 with an 18 to 55mm kit lens, and sometimes a small prime lens for low light. On longer trips I will take more gear, but day to day I keep it simple.
If you do invest in anything, fast lenses in the f1.8 to f2.8 range are the best upgrade. They are especially useful for low light and fast moving subjects.
Weather sealing and reliable autofocus are nice to have, but not essential.
Keep your setup simple, learn how to use it well, and your images will improve naturally.
Carrying cameras on your bike
There has been a trend of riders carrying exposed cameras on their back for quick access. I would generally advise against it. It leaves your gear vulnerable to the elements, increases vibration, and offers little protection in a fall.
For smaller mirrorless cameras, I use a compact shoulder pouch with an added strap across my chest to stop it swinging.
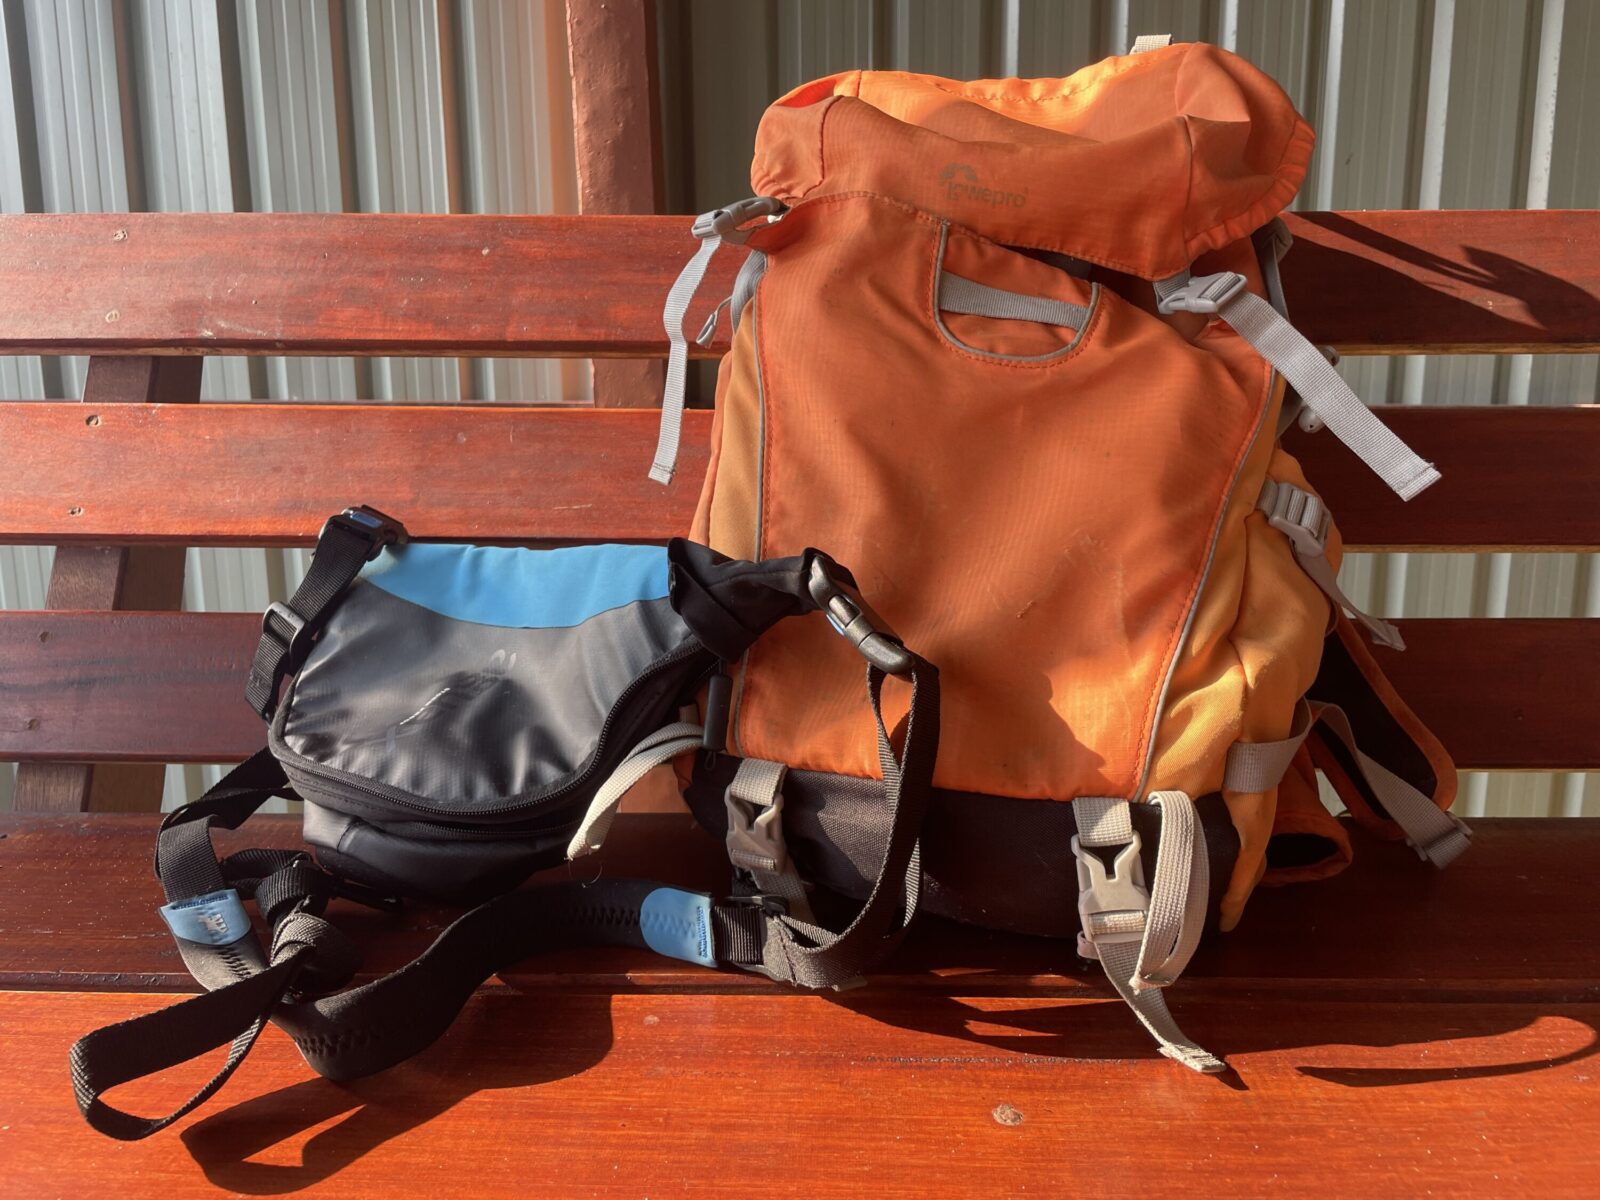
If I need extra lenses, I will use a small backpack, often with a jacket for padding, although it can get sweaty and uncomfortable. Some riders prefer waist packs, but I find them restrictive.
On smoother terrain, a well padded bar bag can work. But carrying the camera on your body helps absorb vibration, which can otherwise damage gear over time.
Settings and essentials
Modern mirrorless cameras do a solid job in full auto, but learning semi manual and manual modes is what lifts your photos from good to great.
At the core is the exposure triangle. ISO controls sensor sensitivity, shutter speed controls how long the shutter is open, and aperture controls how much light enters the lens and how much of the image is in focus.
It can sound intimidating, so start simple.
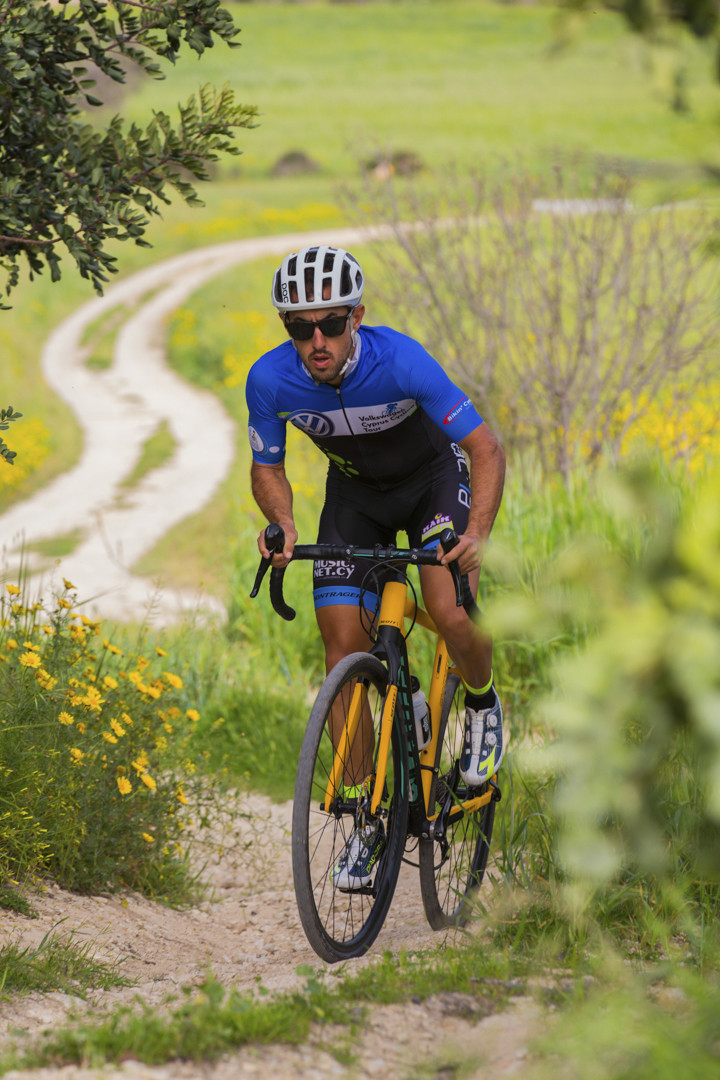
Aperture priority lets you control depth of field. Lower f numbers below f4 isolate your subject with a blurred background, while higher values like f8 and above keep more of the scene in focus, but may slow your shutter speed.
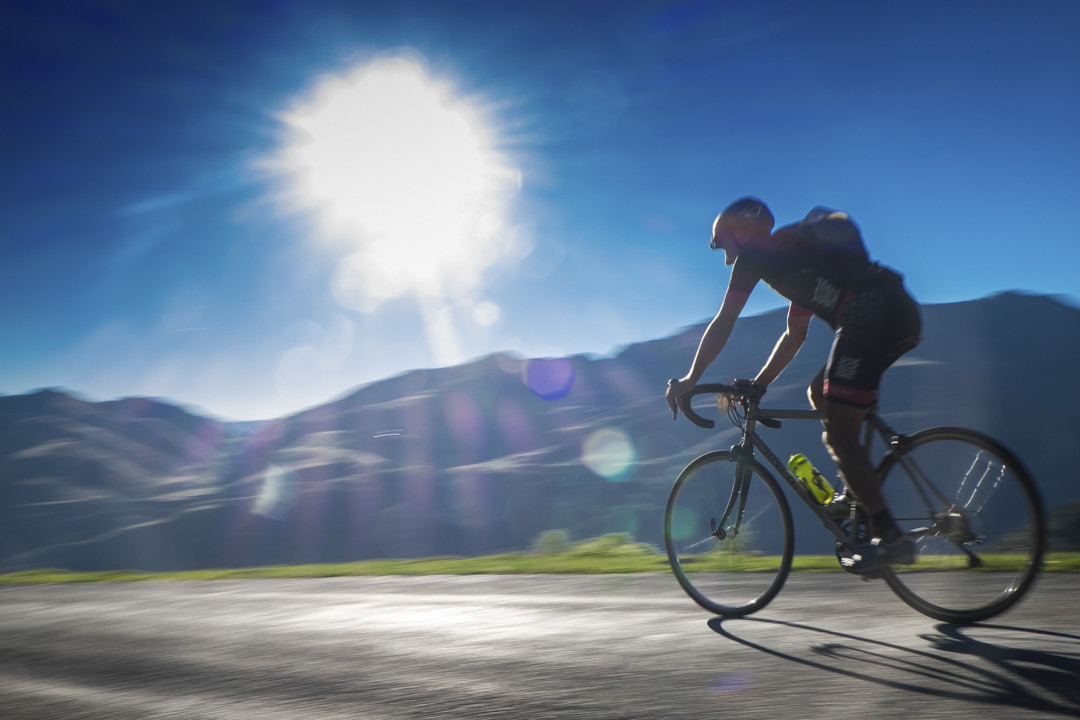
Shutter priority is useful for action. Around 1 over 500 works for general riding, while 1 over 1500 or faster is better for high speed shots.
The best approach is to experiment, learn your camera, and gradually move towards full manual control.

Cycling compositions
Composition is a big part of what separates a great image from a snapshot.
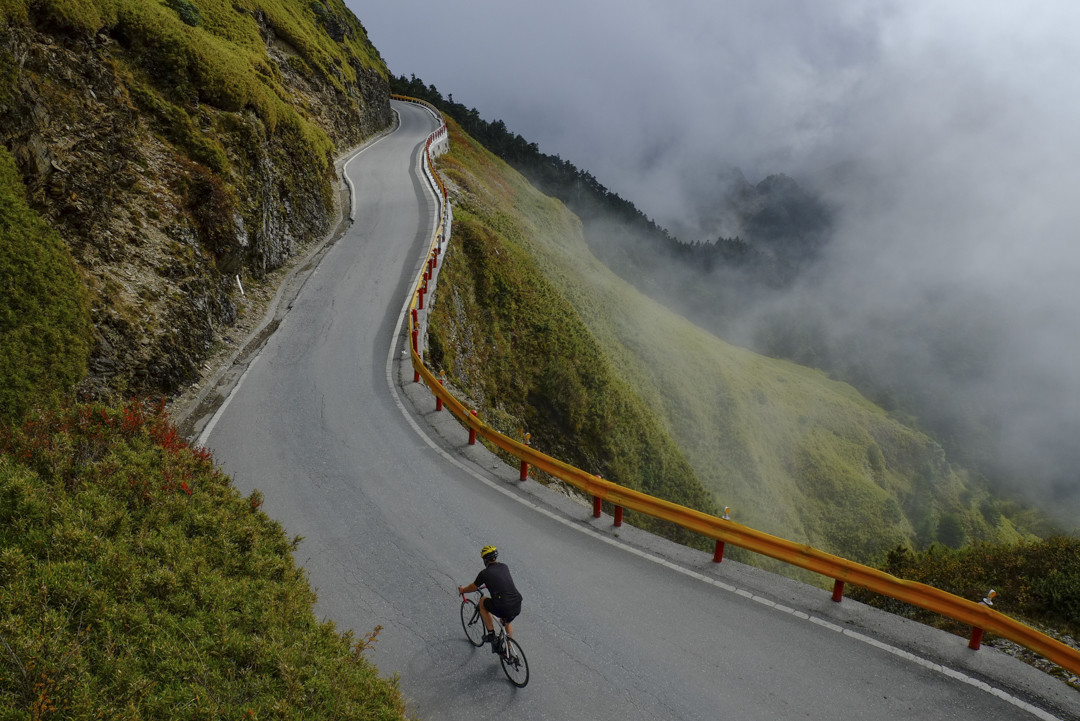
The rule of thirds is a good starting point, placing your subject off centre rather than in the middle. In cycling, that often means positioning the rider in one third of the frame.
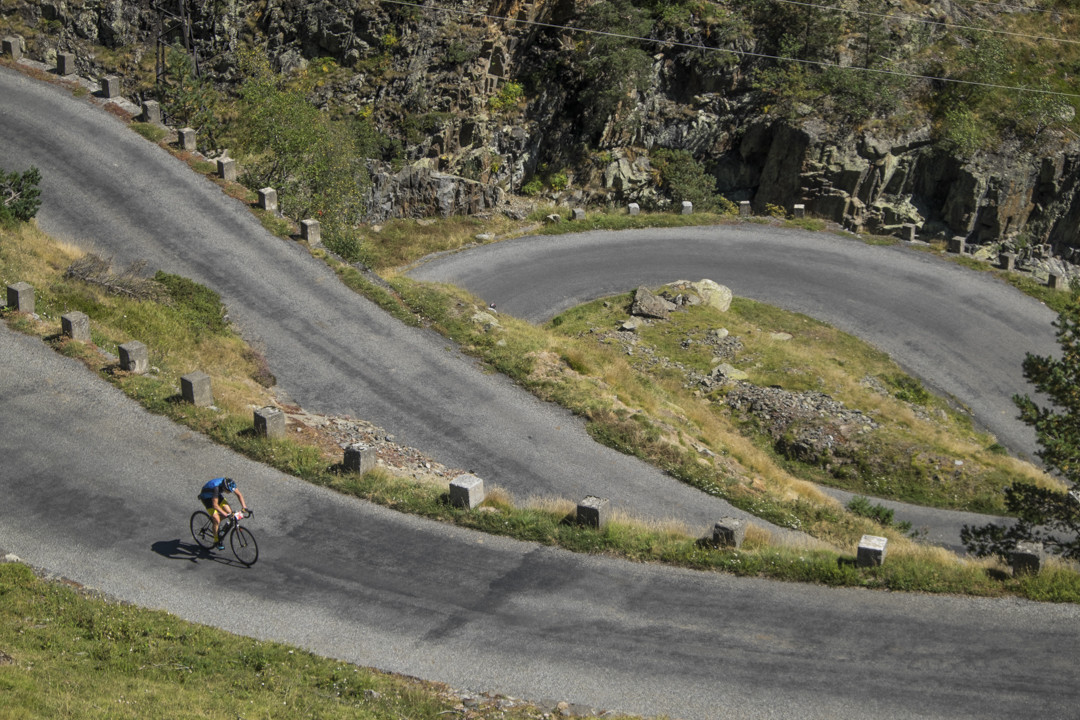
Try to show the rider moving into or through the scene using leading lines. This draws the viewer in and creates a sense of motion and place.
That said, rules are there to be broken, and close up, abstract shots can be incredibly effective. Wide angle lenses under 20mm open up creative options, but be careful not to get too close.
The magic of light
Light is the element that can elevate any image.
The best times to shoot are early morning and late afternoon, when the light is soft, warm, and low. It adds depth, creates shadows, and brings a scene to life.
In most cases, avoid shooting directly into the sun unless you are deliberately chasing a specific effect. Position the sun behind you or slightly to the side, and try to keep natural light on your subject.
Good light is worth going out of your way for. It is arguably the most important part of photography, and something no amount of technology can fully replicate.
A few final tips
- Always carry a small lens cloth and clean your lens before shooting.
- Never leave home without a spare battery and memory card.
- When stopping to take a photo, allow yourself a few seconds go get your breath and steady your breathing/grip before shooting (to avoid camera shake).
- Always shoot vertical and horizontal images, and look around for variations on every scene before moving on.
- Set your camera to capture RAW and JPEG (in highest quality) if you can. This way you have one JPEG image ready to go, and a RAW file to edit more if you wish.
Steve Thomas
Steve Thomas - Steve is a veteran cycling journalist and skilled photographer. He contributes to many publications worldwide, including Bicycling Australia, for over 30 years!