Mobile phones are incredibly powerful image making devices these days, if you know how to use them. Steve Thomas exposes the magic of mastering the humble smartphone.
It never ceases to amaze me at just how much snobbery still lingers when it comes to mobile phone photography. In all truth, the majority of people would struggle to tell the difference between a picture shot on the latest iPhone to one shot on a good mirrorless camera, and especially not when it comes to viewing them on the tiny screens of the devices that now seem to rule our lives.
Yes, I am a professional photographer, and have been filling the pages of this and countless other magazines around the world for 30 years now, and I do use “big” cameras for most of my professional work.
That said, I use a mobile phone camera just about every day too, and the images I produce from it are more than good enough to fill the same space in magazines, even if there are certain situations where a more serious rig is required.
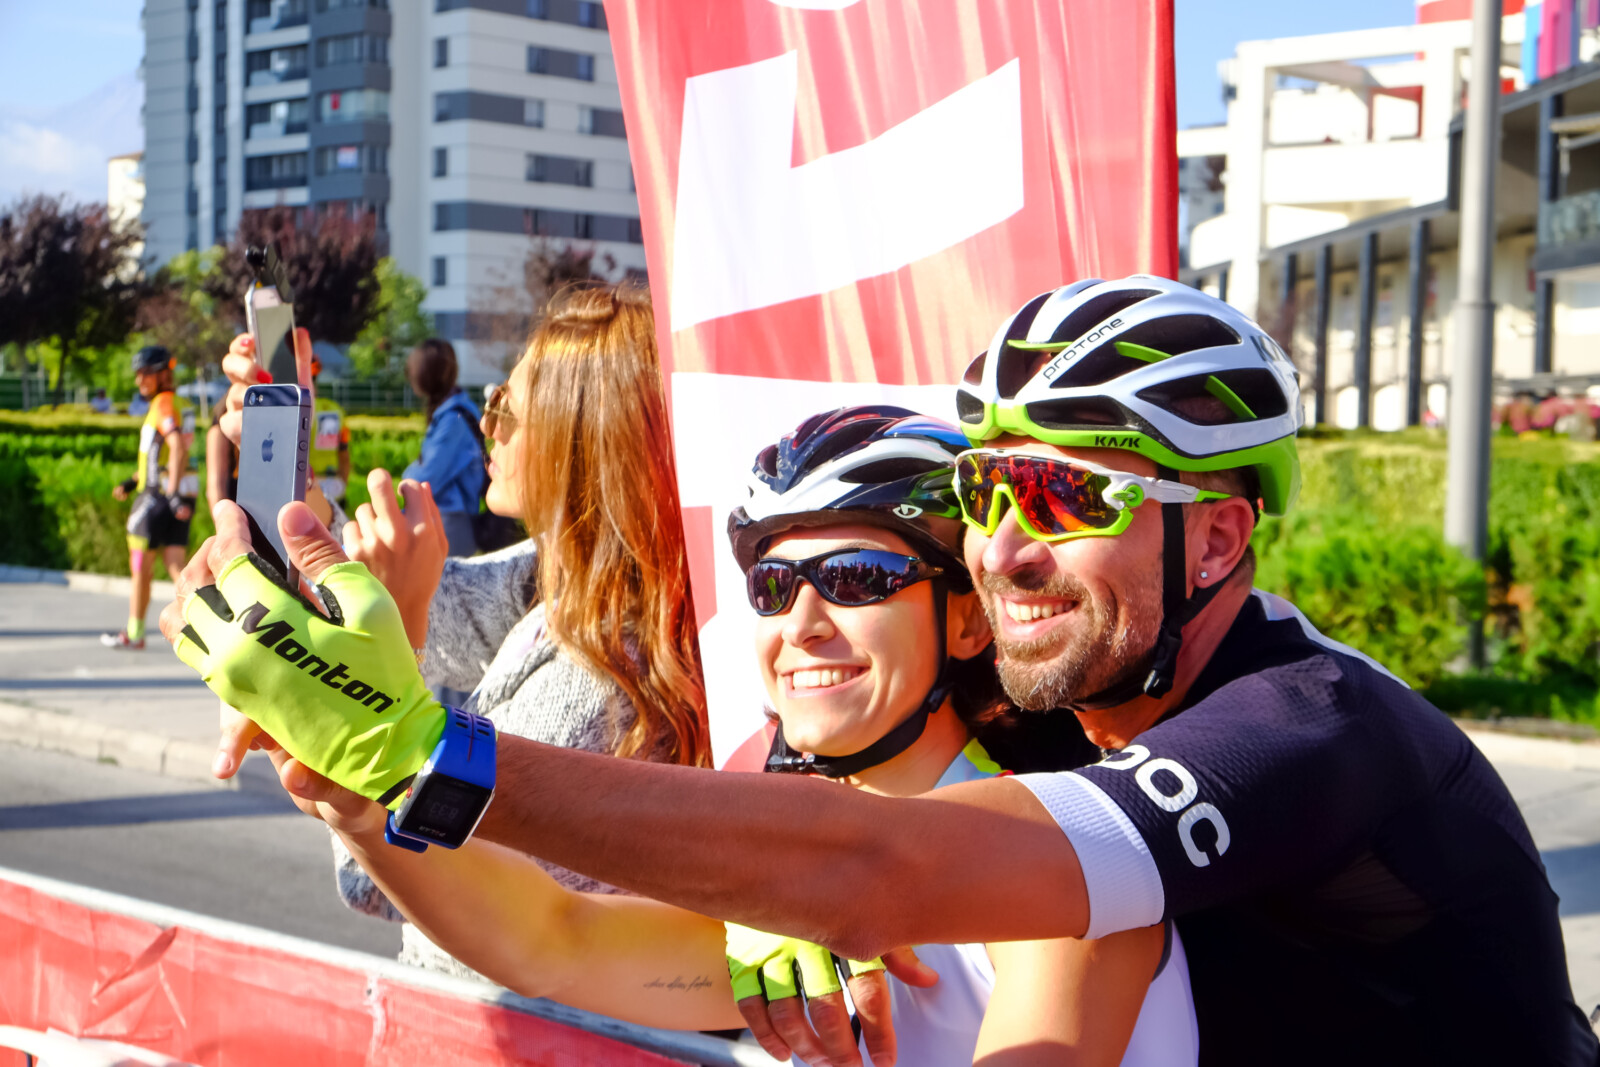
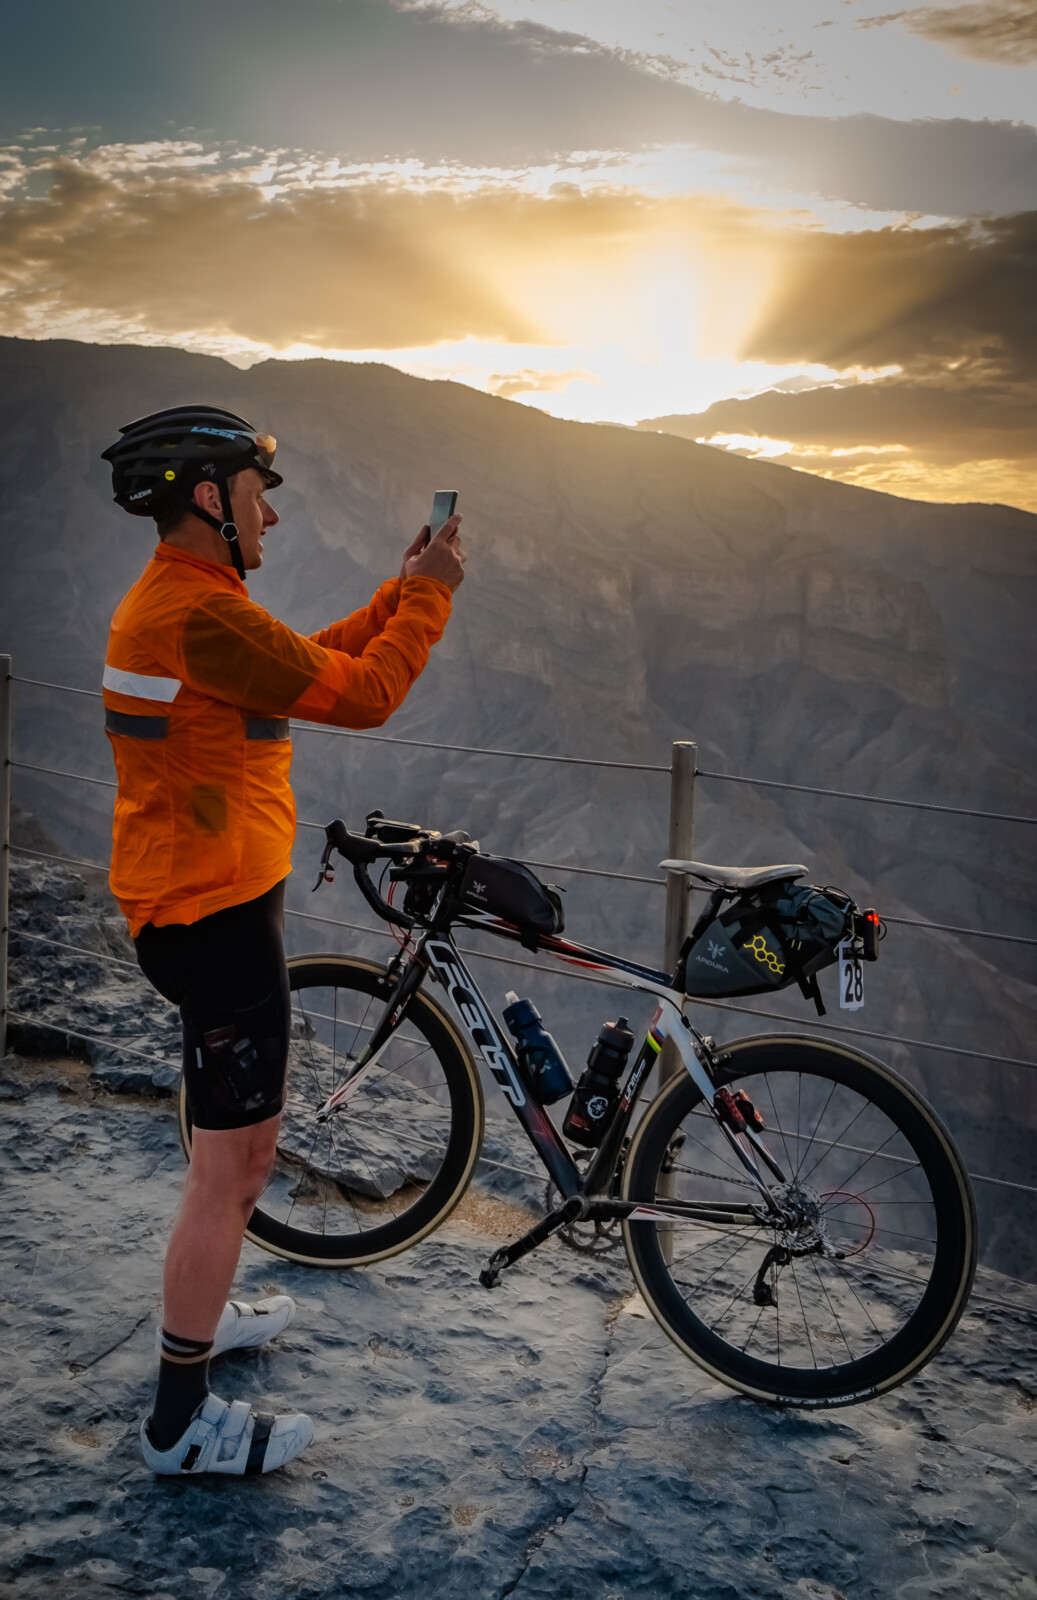
The great thing about a mobile device is a tad cliché—in that we have them with us all of the time, they are mostly in our pockets every single time we ride out. Naturally that means that we can capture every impromptu image we come across on the road—be it from the saddle of the roadside.
This is not the case with bigger camera systems; unless you’re really serious they are just too much hassle, and you could have got the shot of that kangaroo chasing your mate before you’d even have time to get a dedicated camera out of the pouch.
Add in the amazing all-in-one processing and posting power of a mobile device and within a minute you can have that great ride shot edited and posted online, which is tough to match with a bigger camera and computer.
However, there are caveats: it really is not just a case of point and snap, or at least not if you want to get good results. Just like with regular photography, or anything else in life, you do need to put in the time and effort to learn the skills and the workings of these devices.
The best camera
Straight up front, my advice here is not to worry about the camera—use what you have and work with it. Just about all recent-model mobile devices have very good cameras, and in most cases it is actually the processing power of the phone that adds that extra ounce of wizardry.
Generally speaking, the newer the phone is the better the camera is, plus the more lens options and the more processing power it will have all add up to make better images.
But, at the end of the day, it is still mostly down to the photographer, and even older models such as the iPhone 4 are still capturing award-winning images over newer models.
There was a big leap in capability with the iPhone 7, and things have got better in low light situations ever since (but no phone will get great low light shots, and, let’s face it, we mostly use them in daylight for cycling pics).
Personally, I use an iPhone 12 Mini because I like to keep things as small and pocketable as I can. The camera has 2 main cameras, which have been invaluable to have, and if you can afford a model with 2-3 cameras then all the better. Even so, I certainly would not pay a crazy price for that; I would rather work with what I have. Fewer choices keep it simple.
I have stuck with iPhones because I’m long invested in the iOS system, although there are some great Android devices around, some with better cameras for certain situations. But. at the end of the day they all come with small sensors (some slightly bigger than others) and so the extra megapixels they tout are often crammed into that small sensor and are really not of much relevance to most of us, and by the time you’ve paid for it there will be a newer model anyway.
The Samsung Galaxy S22 Ultra is a great but expensive camera phone (with 5 cameras and a big megapixel count), as is the Google Pixel 6 Pro (with a 50 megapixel main camera), and the and the latest iPhone 13 is potentially the best of the lot, even with its lowly 12 megapixel cameras.
It really comes down to the whole package suiting your needs, and chasing the latest and greatest in mobile phones is a sure way to melt your credit card, when taking the time to learn the skills and practice comes for free.
Use it like you mean it
The first step in taking better phone pictures is to think of it as a true camera and not just as a phone. Slow down and get your breath, clean your lens and hold the phone steady with both hands and shoot as you would if it was a bigger camera.
Compose the image and then grab your focus by touching the screen. Expose to retain the highlight detail (usually meaning the sky and keeping detail in it). This is usually achieved by touching on a grey of mid tone area of the screen until the exposure is more or less even and then holding to lock it.
On most phones sliding your finger left or right across the screen also alters the exposure (there are also manual control apps available). HDR mode on newer phones is good at handling these contrasting light situations. If possible, try to avoid extreme lighting—such as big white skies along with very shaded areas.
Lighting is very important so try to keep the sun behind you or even better still ¾ head on to the subject. Of course, early morning and evening light is the best for any photography, so use it if you can.
Do avoid using the digital zoom option—it simply crops into the scene and reduces the image resolution (apart from a few higher-end new phones).
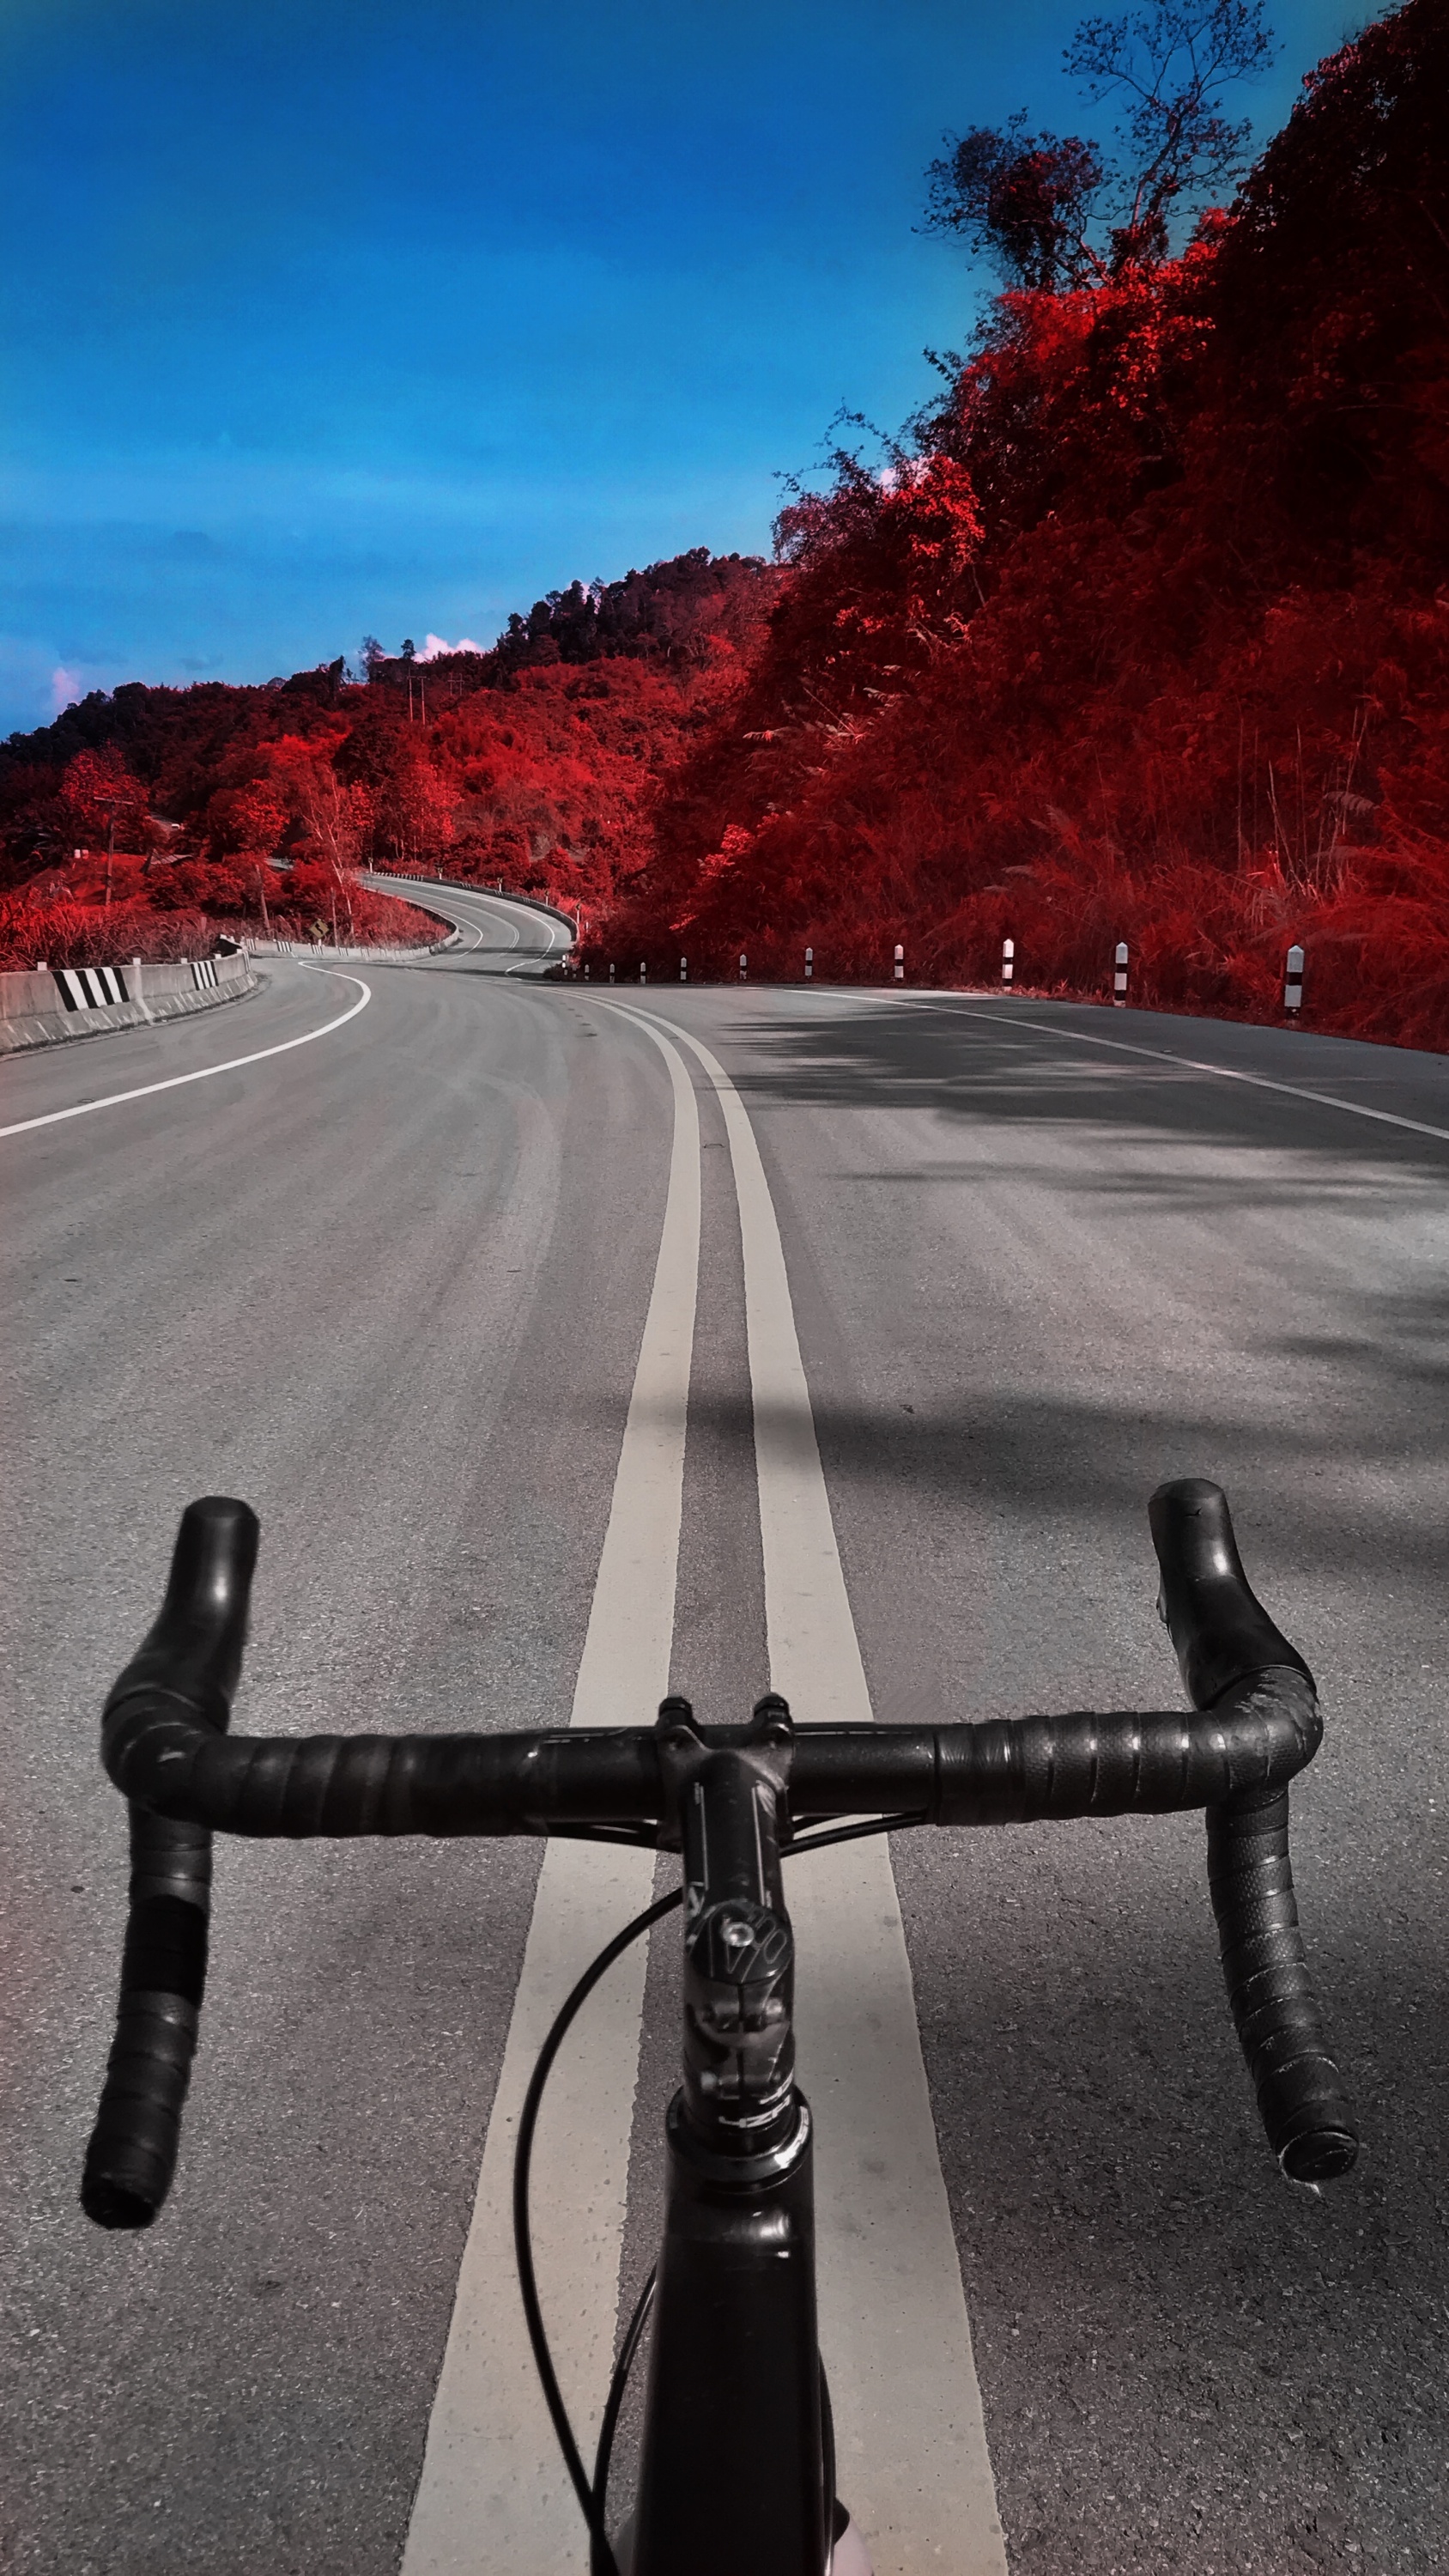
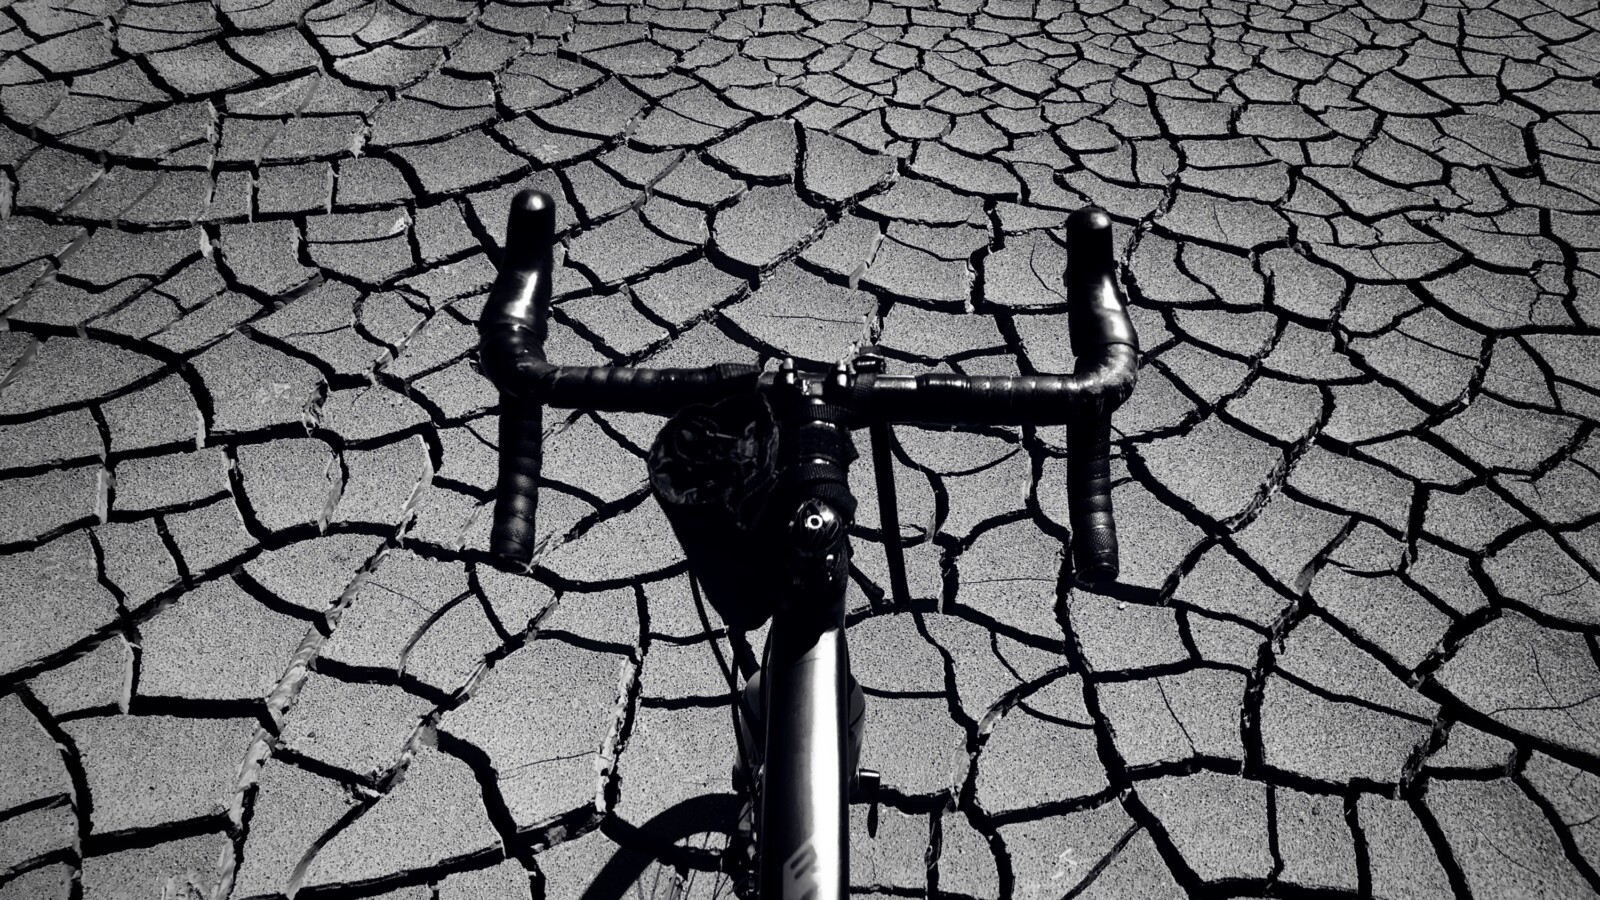
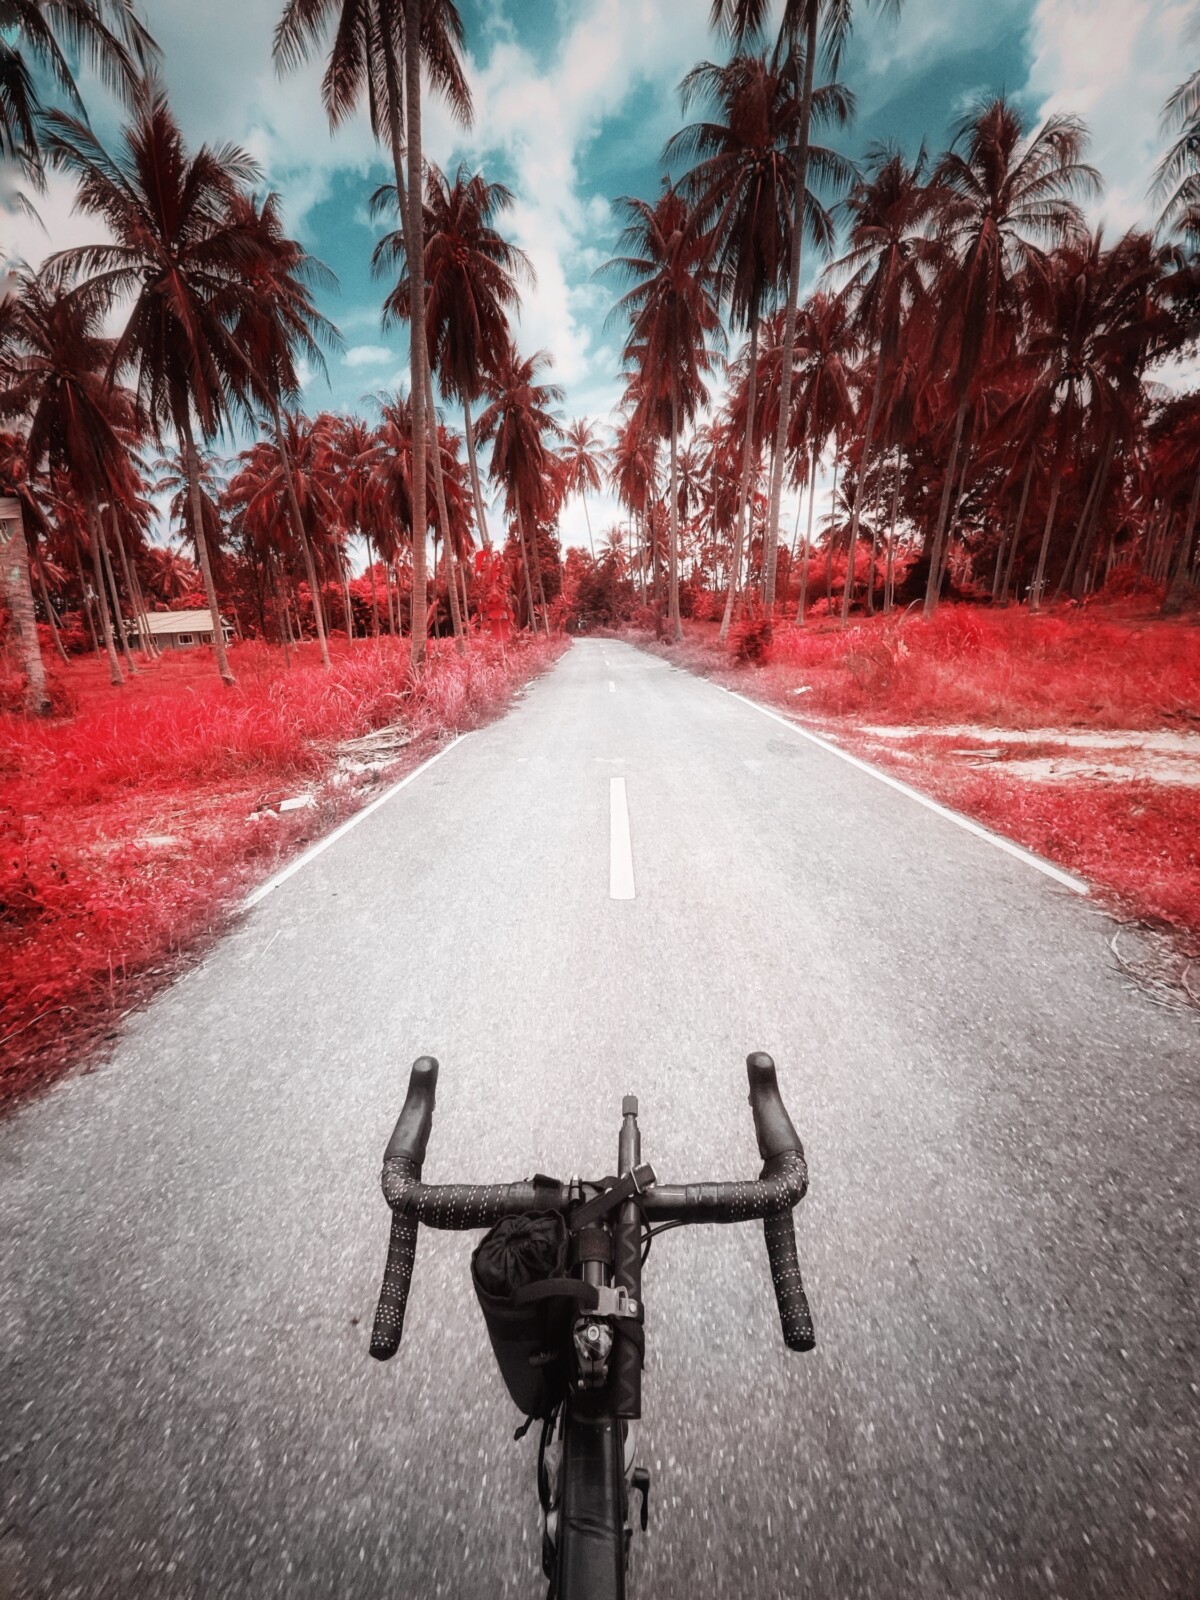
Many phones now come with multiple cameras and focal lengths, which really are worth their extra cost. Their wide-angle cameras are great for big landscapes with a rider in it, and also for shooting POV’s from the saddle.
“…It’s also always worth turning your phone upright, as vertical images have a much different feel…”
Steve Thomas
When capturing images don’t just take one shot; try a few compositions and different exposures, much as you should with a regular camera
Composition
Mobile composition should be approached in the same way as with any other camera, although you do need to keep in mind that you will not have aperture control for depth of field to blur backgrounds.
Good composition (and light) is what really separates a great image from a snapshot, and thinking about the scene and taking time to find the best composition is essential.
There is the old photographic “rule of thirds” which is more or less based on dividing your images into thirds. When this comes to a cycling image it generally means not having the rider dead centre, and trying to divide your screen so that you have something along the lines having the rider in 1/3 of the screen, preferably keeping the sky and ground in equal proportions.
It’s always good to try and show the rider coming into or out of a scene with “leading lines” rather than directly head on or from behind. If you can show a trail or road leading into a scene and the rider coming in or out of that then that is ideal. It draws you into the image and gives you a sense of being there.
It’s also always worth turning your phone upright, as vertical images have a much different feel. Vertical is also more favourable for scenes where you do want a closer rider image. This format is also more popular on Instagram (although Instagram does crop the image a little so allow a little more room).
For action shots always use burst mode, and remember that you don’t always need to see all of the rider or bike in the image—a really close-in action image can add a lot of drama and mystery to a picture.
Capturing the action
Recent-model phones mostly have superb autofocus and tracking, which make them pretty good for action images. Even so, you should always try to touch and lock pre-focus before shooting and then pan with the subject (if they are moving across your scene as opposed to towards or away from you). When panning keep the movement smooth and before you shoot be sure to see what is either side of your frame—to avoid obstructions.
You will be amazed what’s possible with the right skills and a little extra input.
Manual photography apps
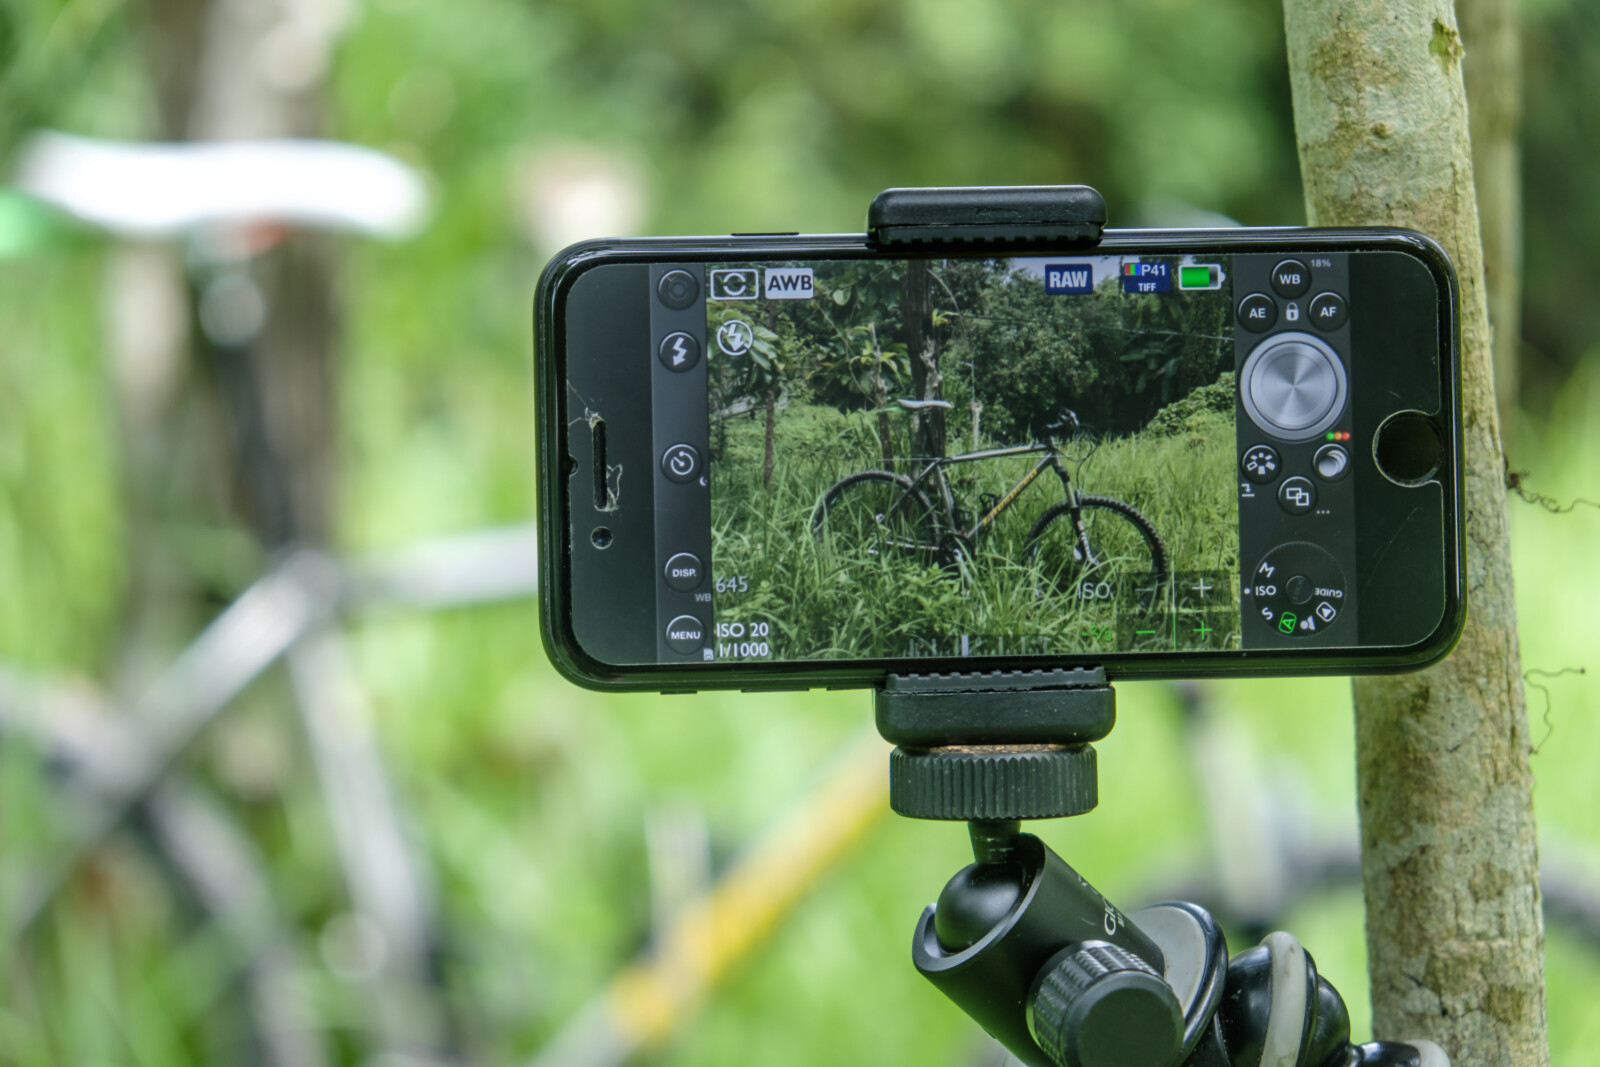
There are numerous dedicated camera apps available, and these will allow you to take more manual control over your photography to nail exposures more accurately.
These apps usually also allow for RAW/DNG capture (unprocessed by the phone), which allows more room for post processing—to be honest I do not find that much more leeway compared to a standard JPEG, so I personally always shoot that format on a mobile.
My go to shooting app is Filmic Firstlight (Free for basic functions/$12.99 for
the pro version for both iOS and Android), but that is mostly for the filters.
Post-processing apps
Any serious photographer out there will post process their photos. Snapseed is a free app for iOS & Android and is perhaps the best and easiest to use too.
Play around and learn the functions. It will make a huge difference to your final pictures, just be sure not to go OTT with processing.
There are several other apps out there that do the same job—such as Lightroom Mobile, Photoshop Express—but Snapseed is free and easy to use, which is hard to beat.