That horrible creaking, grinding and crunching sound coming from your bottom bracket might be the end of the world (possibly time to buy a new bottom bracket). Or it might just need some love. I’ll set out the steps you can take to give any bearings a service and as always please go see your friendly bike shop if you stuff it up. Your bike mechanic loves hearing about failed customer bike maintenance projects as it gives his or her life that extra special meaning.
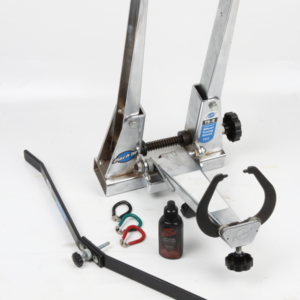
To service your bottom bracket (I’m going to use a Shimano BB for this demo), you’ll need some rags, detergent or mild degreaser, a very small flat screwdriver, a sharp blade, a stiff brush, 5mm allen key, Shimano end cap remover, a torque wrench and some high quality light grease.
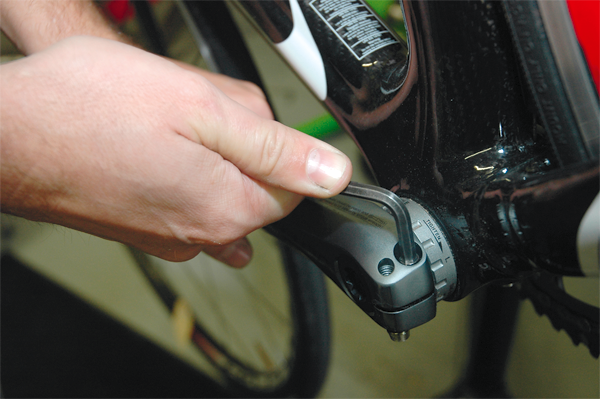
Before you begin, give your bike a wash, its much nicer working on a clean bike. Start by removing the cranks. Undo the two bolts holding the non-drive side crank arms (make sure to fully engage the 5mm allen key as these bolts are tight and you don’t want to round them out.
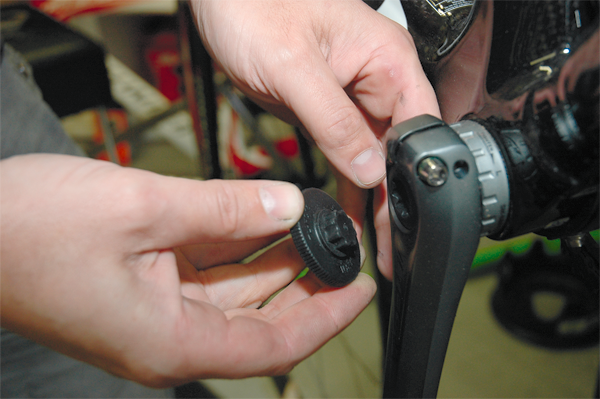
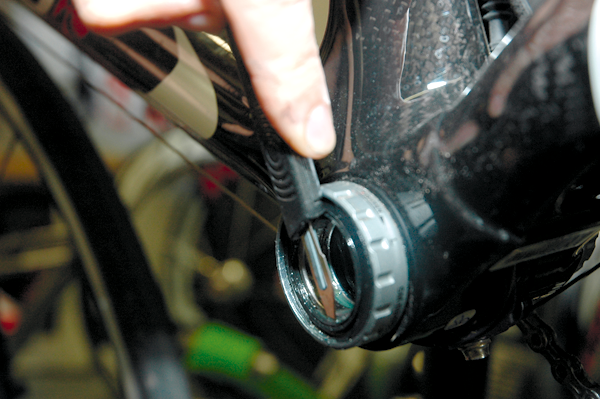
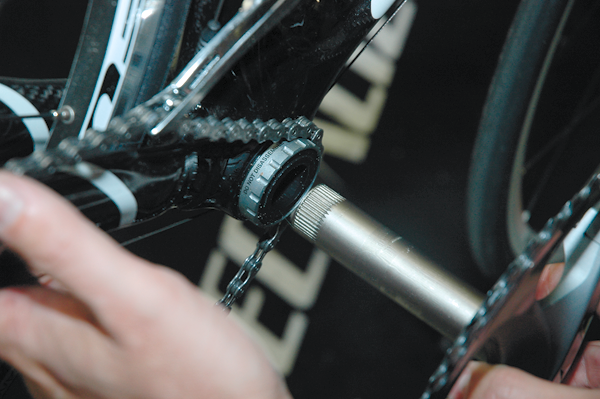
Use the Shimano tool to unscrew the end cap, this should only be finger tight. Lift up the small black plastic retaining catch which is located between the two bolts and remove the non-drive side crank arm. If the crank arm is stuck its OK to give it a smack with the flat of your hand but it usually just pops off.
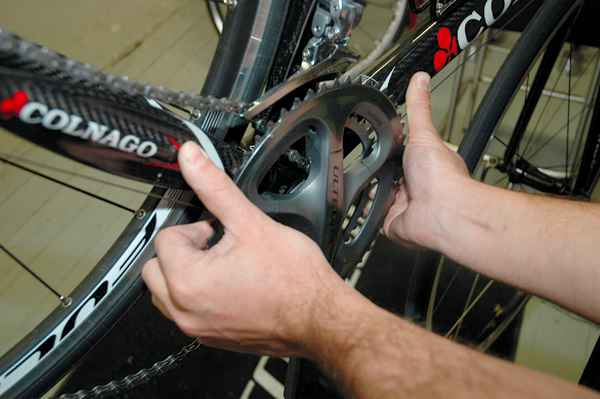
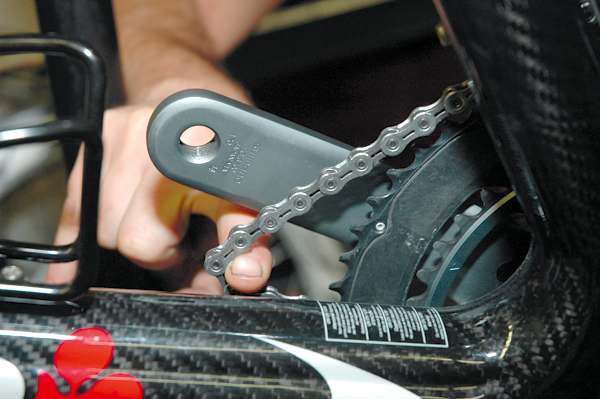
Next remove the cranks from the drive side and be careful not to cut yourself on the chainrings as they can be quite sharp and the grease on the tips of the teeth will leave a nice semi-permanent tattoo under the skin.
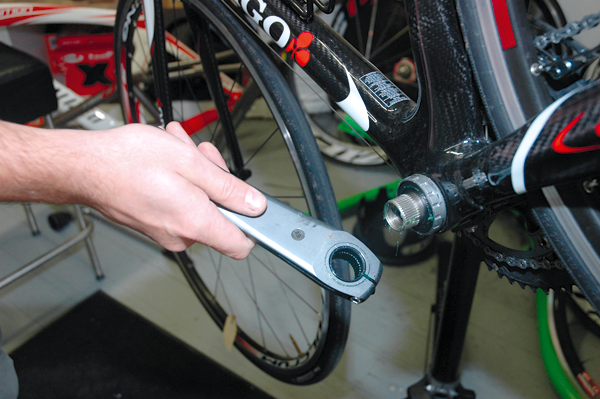
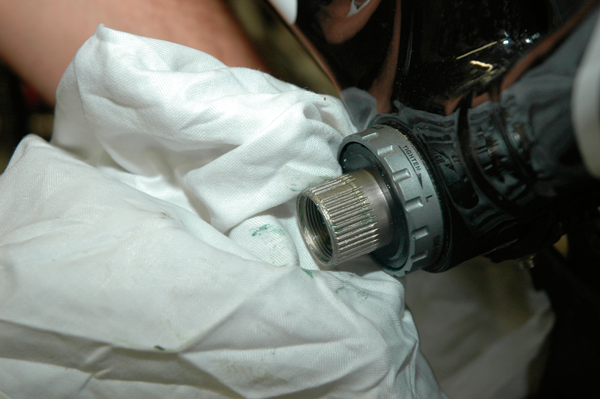
Now that the cranks are out of the way, give the bearings a wipe and remove them. Remember that the drive side is a reverse thread on nearly all bikes unless you own one of the older Italian masterpieces, in which case you should put down the wrench and take the bike to an old Italian mechanic. With the BB bearings out of the bike we can start to clean and regrease them.
The Dangerous Bit
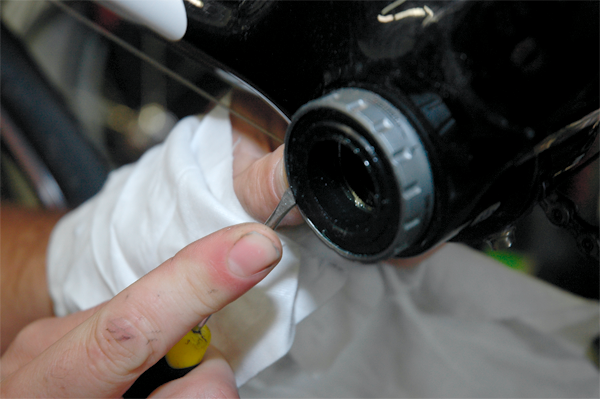
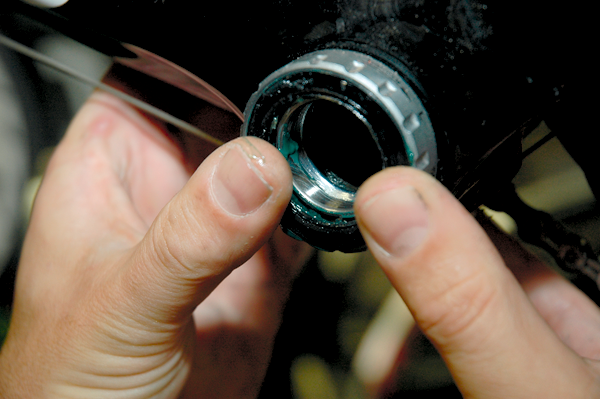
Shimano don’t recommend that you service your BB bearings mainly because you stand a reasonable chance of damaging the seals taking the bearings in and out of the cups. So take this first step really easy. Using the small flat screwdriver, gently lever the outer seal away from the bearing cup. You’ll need to work around the bearing cup at four different points, levering the seal out just a few mm at a time. If you do this gently and slowly the seal will pop out. If you rush this step or are heavy of hand this seal will crack. With the outer seal removed you can then take a sharp blade and very, very gently peel the inner lip seal from the bearing.
Clean and Regrease
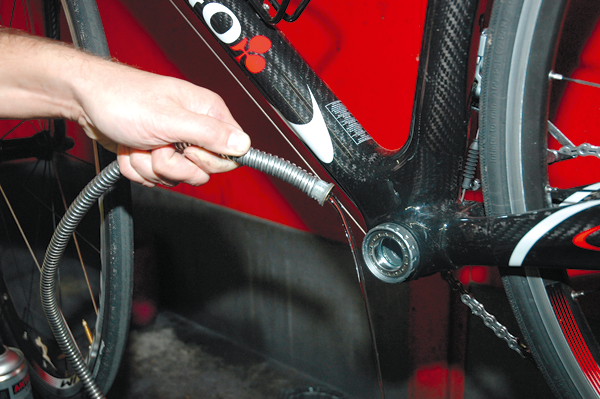
You can use either a detergent or light degreaser and your brush to remove all the sand, grit and corruption from the bearing. Next, flush the bearing with water at normal pressure. Once the bearing is completely clean, dry with a rag or a hairdryer and then apply a film of grease around the bearing. Remember not to use a grease that is too thick or the bearing will have too much friction, which will make you fit but do nothing for the performance of your bike.
Replace the Seals
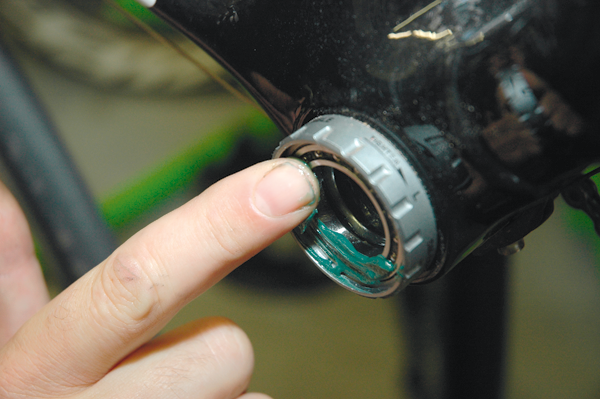
Gently press the inner lip seal back into place making sure it’s the right way up and rotate the bearing several times to ensure the grease has worked throughout the bearing. A way of checking this is to can lift the seal and have a look to see if there is enough grease under it. Next you can then press the outer seal back into place being careful to place even pressure around its circumference to avoid cracking the seal as its quite brittle. Your bearings have now been serviced.
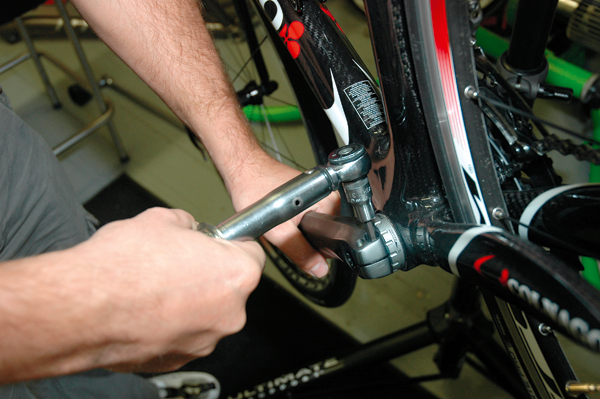
You’ll need a torque wrench to replace the bearing cups to the required 45nM (again remember the reverse thread) and you’ll also need to torque the non-drive side crank arm bolts to around 14nM. Be careful not to over tighten the non-drive side crank arm cap (just enough to remove lateral play) and remember to re-engage the small plastic retaining clip.
Traps to Avoid
– Forgetting the reverse thread on the BB cup. Outcome; Catastrophic frame failure when you stuff the thread in your bikes BB shell.
– Cracking the outer seal on your bearing. Outcome; Time for some new ceramics, you always wanted them anyway.
– Forgetting to lift the small black retaining clip before removing the non-drive side crank arm. Outcome; One less retaining mechanism to stop your cranks from falling off. At least your Shimano cranks have two other systems to prevent this.
– Lifting the lip seal and finding one of the bearings has disintegrated. Outcome; You crushed this bearing with your extreme wattage. Pat yourself on the back and go shopping for new bearings.
This service procedure will work on almost any bearings on the bike (headsets for example) and performed about every 5,000k’s will ensure they continue to run smoothly. Nothing lasts forever and eventually the bearing races will wear out requiring you to purchase some new ceramic bearings, but that is for another day.