 Sometimes it’s the small details that give a bike that ‘pro look’. Here’s how to do a neat job on your handlebar tape to make your bike look a million bucks…
How to do Handle Bar Tape
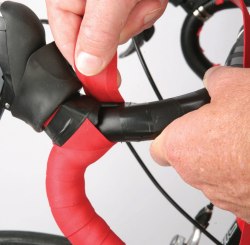
1. Aim to reach the brakes with a wrap of tape that slightly overlaps the underside of the lever at the front. If there is a gap, undo a few wraps and vary the overlap to get a neat result.
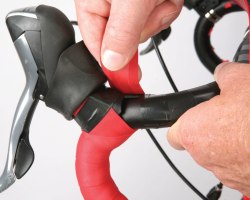
2. Keep the tape taut and continue to wrap up and around the back of the brake lever. There is no need to double back or do a ‘figure of eights’ as the short piece of tape around the back of the lever should cover the area nicely.
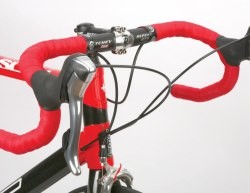
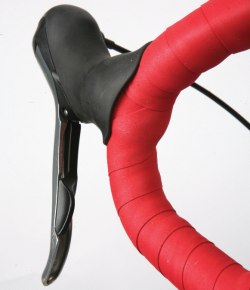
3. Roll the brake lever hood back and your bars should look like this when completed. You may need to try this section a couple of times to get it looking right.
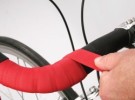
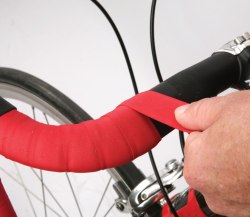
4. Taping around the bends isn’t easy—at least it is hard if you are aiming for a neat finish. The trick is in getting the right stretch on the tape as well as a suitable amount of overlap. Too much stretch and you risk breaking the tape; too little and it will creep and look ugly.
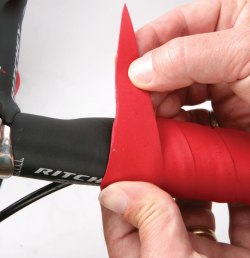
5. At the top of the bars, cut the tape with some good sharp scissors. Don’t just cut the tape straight across—cut along a shallow diagonal line as shown. Line the end of the cut up with the point where you want the tape to stop.
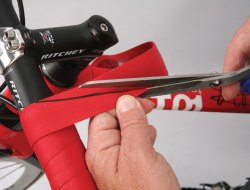
6. Your cut at the end of the handlebar tape should look something like this.
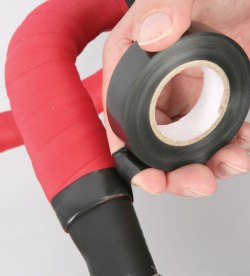
7. Wrap the end of the tape around the handlebar ensuring that the edge forms a nice straight line. Use electrical tape to hold it in place; it has a nice stretch and holds the handlebar tape securely.
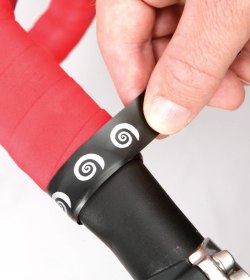
8. Some bar tape comes with its own logo embossed finishing strips. These can be placed over the electrical tape if you want the tape manufacturer’s name to be shown.
9. Repeat the process on the opposite side and you are done! The finished job should look a little like this; with taut and even wrap, no bulky patches and tidily secured ends up near the handle bar stem.