Technical contributor Dr Michael Hanslip talks us through four bottom bracket installs and ‘creak free’ cycling.
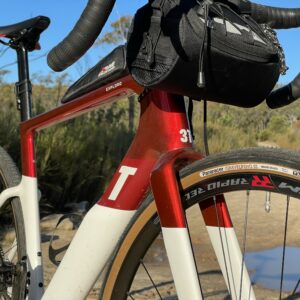
I am super lucky in that I have a quiver of really nice bicycles. While it gives me alternatives if a problem crops up (this one has a flat tyre, so I’ll take that one today), it also means that I’m never as on top of my maintenance as I would like to be (or as much as I would have to be if I only had one bike).
Maintenance or not, one issue that crops up across all my bikes at some time is a creaky bottom bracket.
Before we had two-piece cranks there was an axle that lived inside the frame, and each crank arm was affixed to that independently. Most recently this was a monolithic unit (the cartridge bottom bracket) that was set and forget until it was time to replace it completely.

But prior to that bottom brackets required regular attention and consisted of numerous pieces (axle, loose balls, fixed cup, adjustable cup and lockring). If you only started cycling in the last 25 years and don’t ride historic bikes, you’ll never have the pleasure of the monthly (or more frequent) bottom bracket adjustment.
Back to the present. The axle is generally affixed to one crank arm. The bottom bracket consists only of two sets of bearings and associated pieces to keep it in the frame. The last decade has seen a proliferation of “standards” such that this word is virtually meaningless now.
All Manner Of ‘Standards’
Once we had English and Italian threads (with Swiss and French threads rarely showing up). These days it is BB90, PF86, BB30 and its variants, T47 and still the English threads hang on too.
Press-fit permitted downtubes to be the full width of the bearings (roughly 90mm)—important for maximum carbon stiffness. Threaded bottom brackets require a metal insert in the carbon, and the downtube is limited to 68mm for a threaded English bottom bracket. Even the newest T47 size is 68mm wide.
That many companies have started to incorporate threaded bottom brackets into formerly press-fit designs suggest that customer backlash is having an effect.
That backlash was caused by incurable creaking press-fit bottom brackets that didn’t affect every individual bike, but when it did it was oh-so-annoying and could be caused by the bike frame being out of tolerance (roundness or diameter) by an almost imperceptible amount.
I am personally not bothered by the type of bottom bracket my frame has—as I said in the intro I get creaking in all of my bikes from time to time. For this article my goal was to exorcise all the creaking from all my bikes. Each one provides a different lesson.

Bike 1 PF30
I recently installed a whole new bottom bracket in this bike because the bearings felt like they were cubes. I didn’t take quite as much care as I should have with the installation and it creaked from pedal stroke one. D’oh! Last week I popped the assembly out (a headset removal tool works wonders on PF30 bottom brackets for easy removal).
I cleaned everything, and I mean clinically clean. I applied grease intended for press-fit applications. I reassembled using a headset press (ensures the cups go in parallel and without loading the inner bearing race). Blissful silence ensued.
Lesson: Clean everything with isopropyl alcohol and take your time to get it all assembled perfectly.
Bike 2 BB90
BB90 is a Trek-only thing. I’ve had several bikes with this style bottom bracket (road and mountain) and never had any issues. This particular one creaked since day one. I had issues getting the spacer stack correct to put just enough pressure on the bearings and that is the likely source of the creak. SCV sent me two new Enduro XD15 bearings and a spacer kit for this bike. Learning from bike 1, I cleaned everything before assembly and used a generous amount of press-fit grease.
It took a couple of attempts to get the spacer choices correct. For the first time ever with a Trek bottom bracket I had to resort to my headset press to get the off-side bearing to go in square (Trek bearings can often be installed by hand if you have the knack). Blissful silence ensued again.
Lesson: Don’t use the wrong parts to attempt to make it work anyway. It doesn’t.
…That many companies have started to incorporate threaded bottom brackets into formerly press-fit designs suggest that customer backlash is having an effect…
Bike 3 PF92
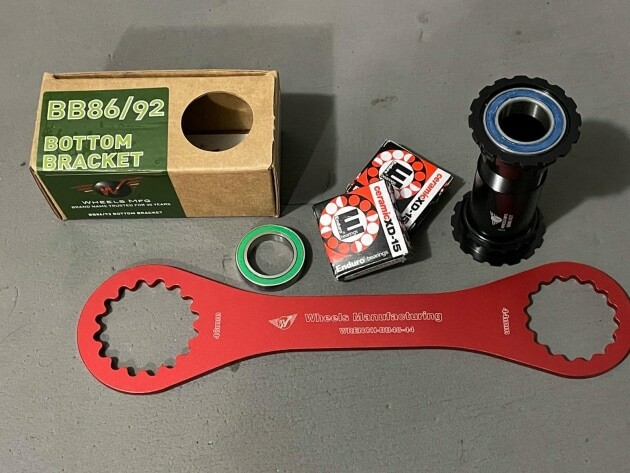
This one is a mountain bike, but the PF86 is the road equivalent and the exact same bottom bracket can go in either frame. SCV Imports sent me a Wheels Manufacturing thread-together bottom bracket. There are a few manufacturers now making thread-together options to avoid dreaded creaks. The drive side is pressed into the frame and then the off-side installs itself with the big red spanner from the photo.
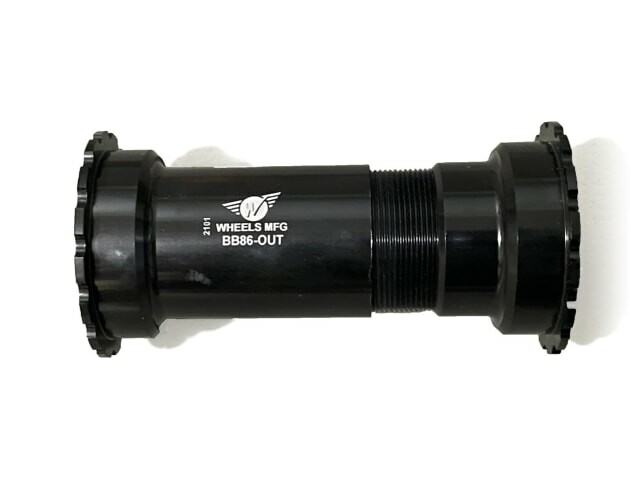
The lip on the cups presents a hard stop to the bearings going too far into the frame, and the threads joining the two bearings ensures that the two sides remain parallel. I was disappointed by how smooth the bearings were in the old bottom bracket that I removed—while it is a testimony to a good PF bottom bracket from SRAM, it seemed less likely to solve my problem by replacement.
One of the clicks generated every revolution of the cranks turned out to be in the suspension linkage and wasn’t the bottom bracket at all. The second click did vanish with the new bottom bracket. Silence is proving elusive on this bike.
Lesson: Not every noise comes from the bottom bracket, even if Internet fora are full of people complaining about exactly that.
Bike 4 English threads
This bike is relatively new (still not a year old) and was silent early on. But I had some front derailleur adjustment issues necessitating removing the cranks about 35 times to resolve everything to my high standards (an adjustment that might normally be achieved through the crank spider was impossible due to using a power meter with no spaces to put the tool).
I noticed after all this that the cranks clicked. This time I didn’t touch the bottom bracket. I simply removed the cranks once more, cleaned them completely and added some press-fit grease to every portion that touched anything else. Blissful silence again.
Lesson: Grease is vital and it gets displaced when you disassemble things 35 times!
Blissful Silence
The key to blissfully silent bottom brackets in any bike is to pay attention to the assembly process. Going back to the old days of very adjustable loose-ball assemblies, if you could get it to be silent for 6 months to
a year you either weren’t riding it enough or the adjustments were spot-on.
With cheaper bikes, that was an unrealised dream; a regular adjustment with the spanner was essential.
Modern bikes require nowhere near that level of attention—and riders won’t tolerate it either. One should be able to insert a bottom bracket into the frame and almost completely ignore it for several years until which time it requires replacement of either the bearings or the whole unit (depending on the specific unit).
If your personal bike is not achieving this level of set-and-forget, you either need a bottom bracket like the threaded Wheels unit to silence the noise, or you need a bigger dollop of attention in assembling the one in there now. Silence can be achieved, and it is definitely worth the effort.
For more on the Wheels Engineering range visit the website of the Australian distributors www.scvimports.com.au