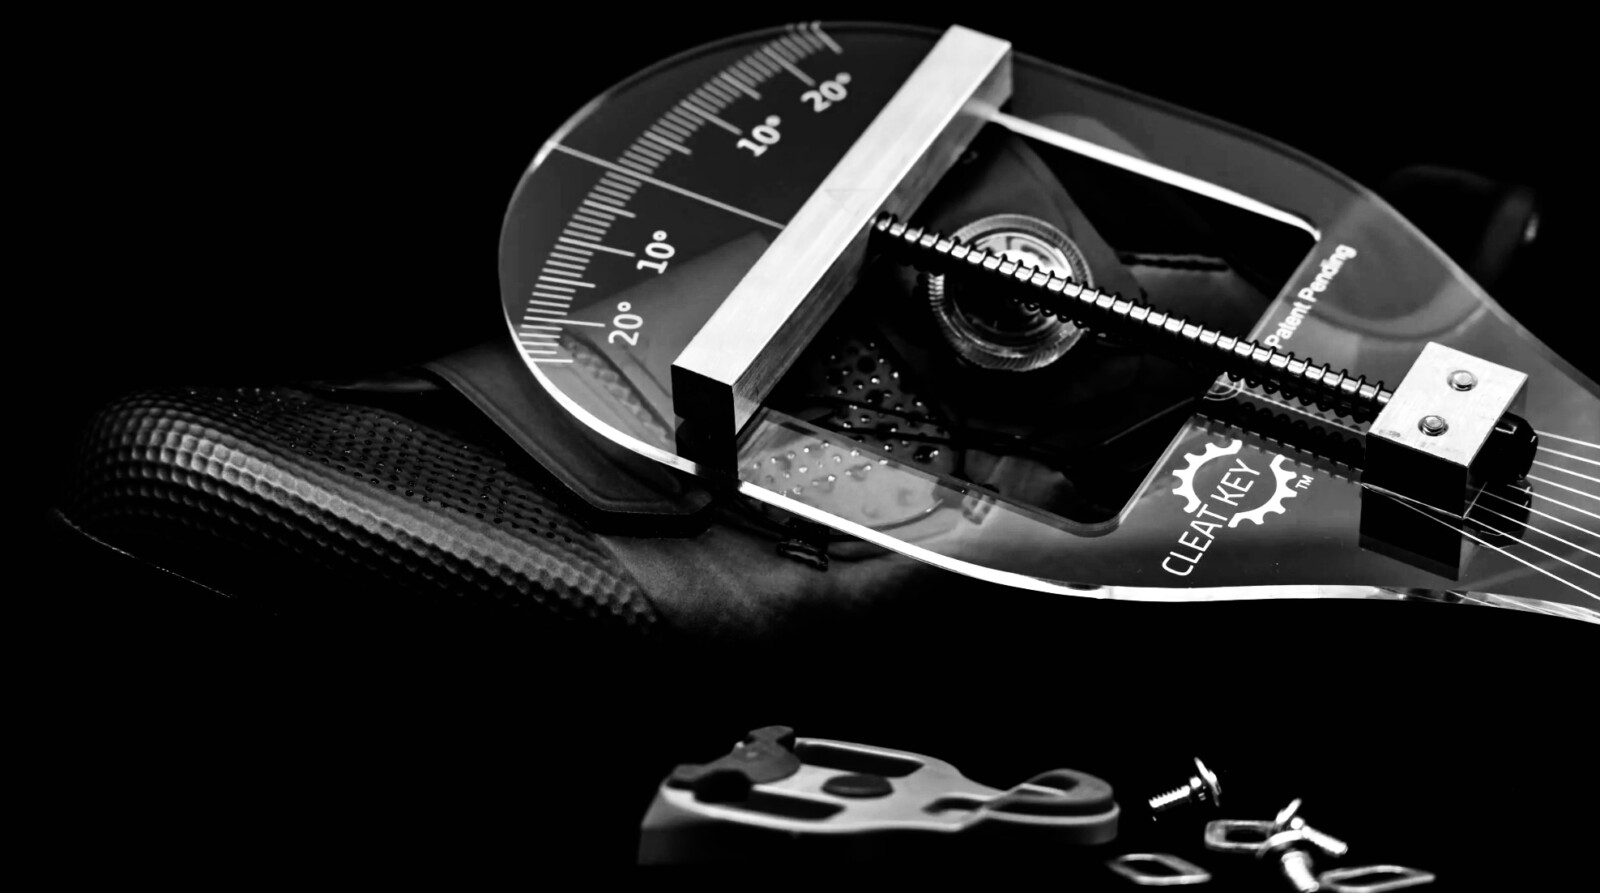
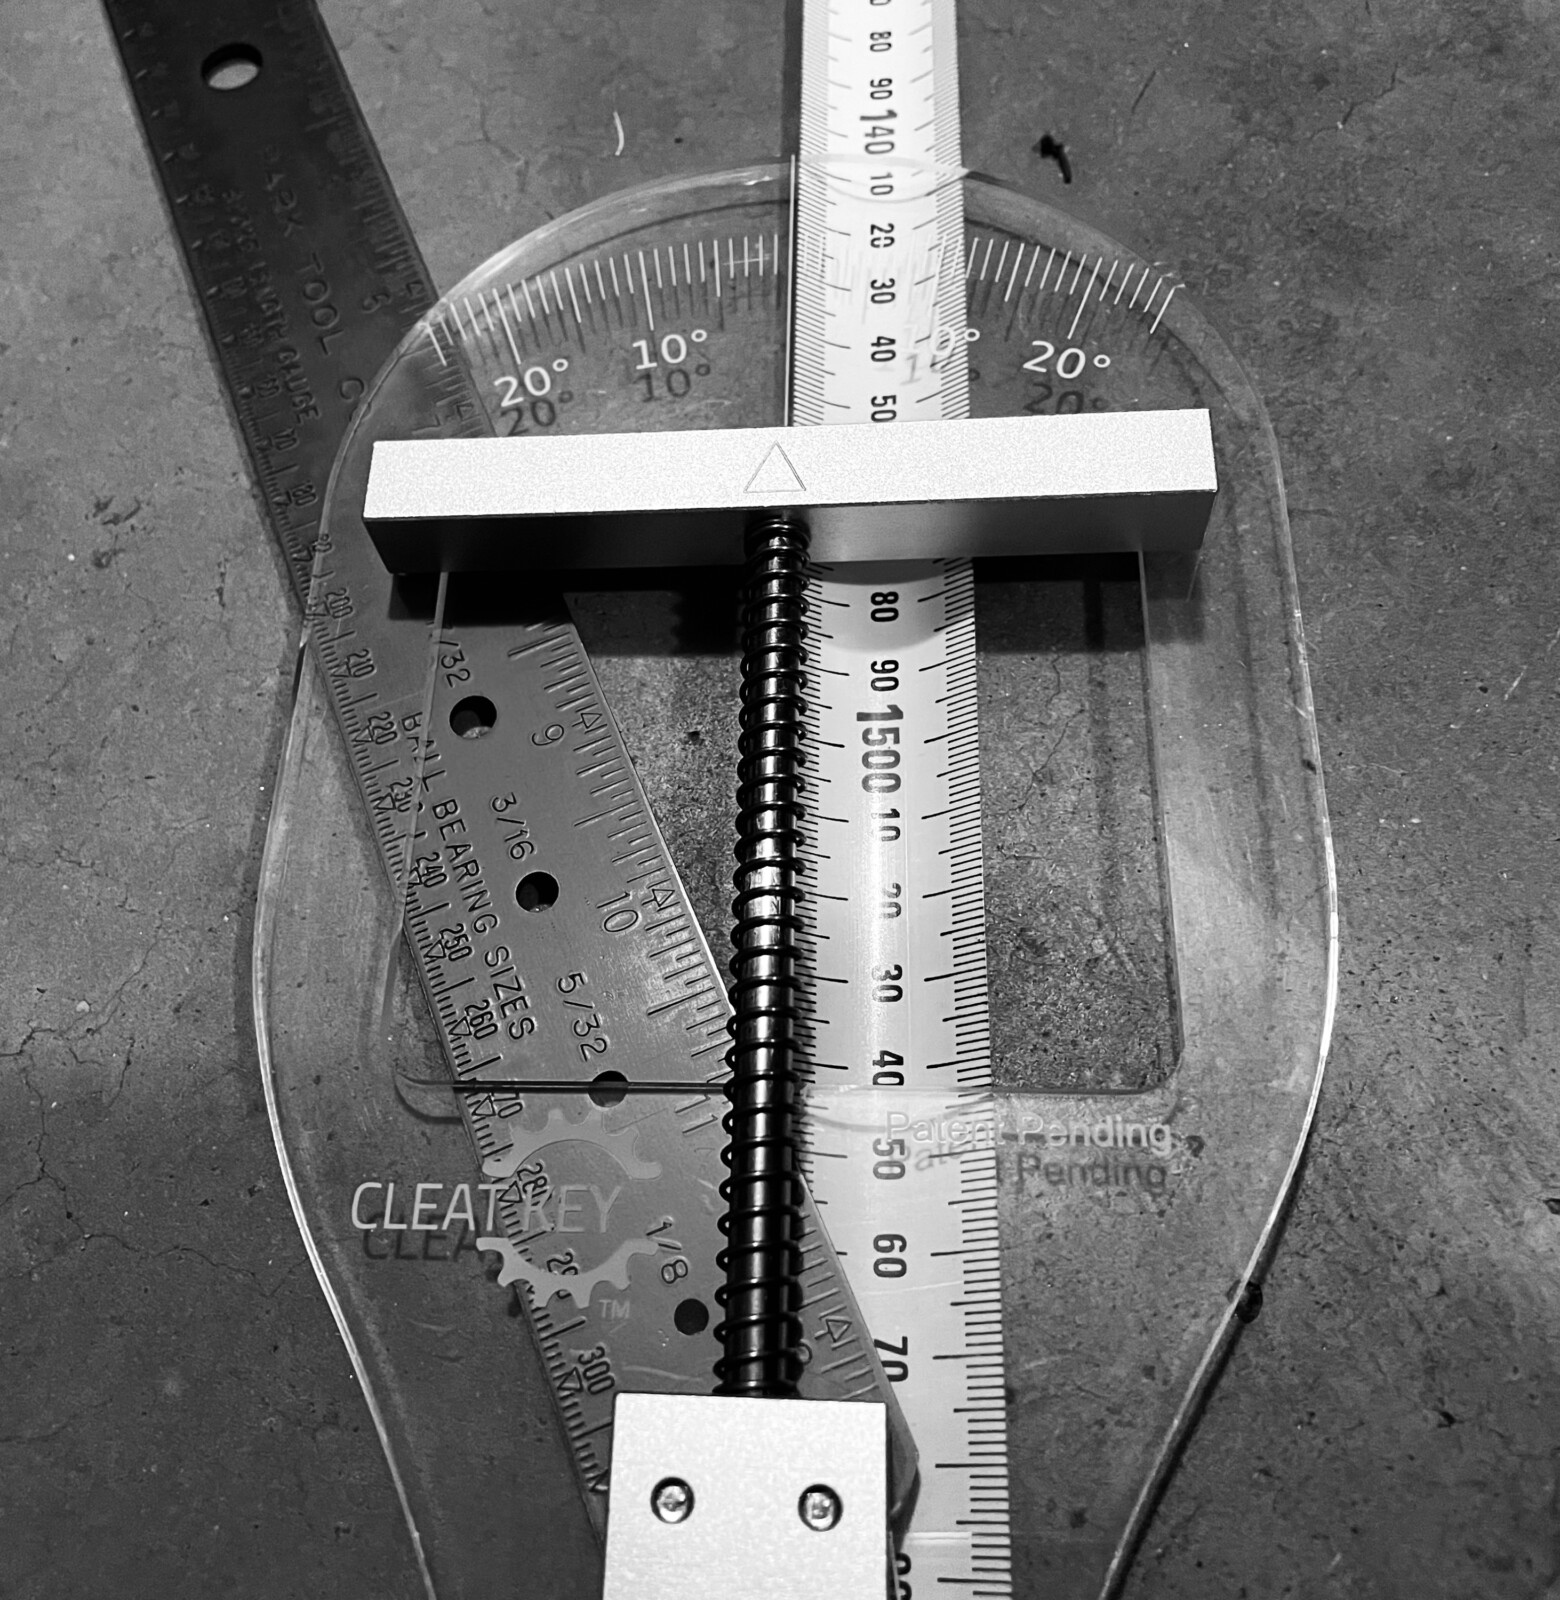
A precision and specialist tool, Dr Michael Hanslip says there’s a number of pros and cons so far as the Cleat Key positioning aide goes.
Cleat position is critical to comfort, but can sometimes be hit or miss … until now.
The cleat key is a cool gadget designed to assist setting up the triangular cleats (Look Delta, Look Keo, Shimano SPD, Time Xpresso, etc) that most road cyclists use on their shoes.
About the size of a shoe and constructed primarily from clear plastic sheet, it should be treated like the precision tool it is.
There is a cleat key method, well explained and easy to follow, on YouTube to guide any user through either a first set-up (new cleats on new shoes) or tweaking an existing set-up. The first step is to determine the rider’s neutral foot angle.

Most people do not point their feet straight ahead and there is an angle measure on the front of the cleat key specifically for determining where the feet point.
They offer a great method that someone can do alone – I have a different method I use with bike fitting clients that is impossible to do solo.
The revelation for me in the video is the division by 3 (if foot angle measures 6 degrees, set cleat at 2 degrees) from whatever measure is obtained to what is installed on the shoe – I knew it was less than measured but never even thought about exactly how much less. The precision with which the cleat angle has to be set depends on the selected cleat (floating cleats require less precision than fixed cleats) and on the rider.
The next step in their method is measuring the fore-aft position for the cleat. They suggest halfway between the big toe joint and the small toe joint. This is not nearly far enough rearwards in my experience, I’d start around the small toe joint for locating the mid-line of the cleat (marked on every cleat for easy reference), and working further back from there.
I have a long history of successfully eliminating rider issues by moving their cleats rearwards – it certainly works for most. If you have a happy location for your cleats already established, do not try a different one. If it ain’t broke, don’t fix it.

Once the cleat is loosely applied to the shoe with the correct fore-aft position marked, it is time to mount the cleat key on the cleat for setting the angle. There are angle marks on the rear end of the key for this step. The key firmly grasps the cleat in its sprung jaw, allowing you to twist the key and cleat to the desired angle, checking that the fore-aft hasn’t been disturbed then snugging up the three cleat bolts.
My road shoes have a small rivet holding the heel tread in place exactly in the midline of the shoe – else a bit of white tape and a mark with a pen will help by marking centre.

The cleat key is fairly expensive, would I buy one?
No, I wouldn’t. Because I don’t use triangular cleats on my own shoes and I have a working system of installation of the triangular cleats on client shoes. It looks pretty pro – having a tool like that would reassure clients of fitters that they know what they’re doing.
I’m hesitant to recommend it for a club tool because the plastic construction wouldn’t take well to being dropped or abused. It would be good for a shop for getting a few staff members to consistently set cleats across all clients.
Or if you have a tool addiction and can’t seem to get your cleats right, this well might be the key you were missing.
More at www.cleat-key.com


Dear Dr. Hanslip,
Thank you for the review. You are correct that the Cleat Key would be of no use to a rider like you that uses Speedplay pedals. It won’t work with Time road cleats either but a Time/Sram-specific model will be out soon.
Triangular cleat systems like those by Look/Shimano are much more popular and ubiquitous, and the Cleat Key works perfectly with those, to quantify the critical rotation, and help any rider set up their own cleats perfectly. The materials are solid and my decade-old prototypes are still functional and precise, as are the ones used by numerous shops worldwide.