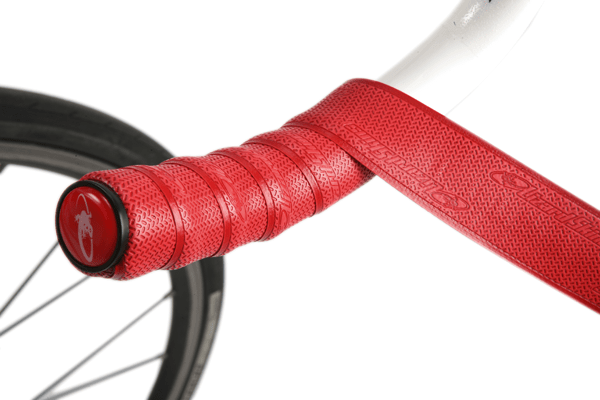
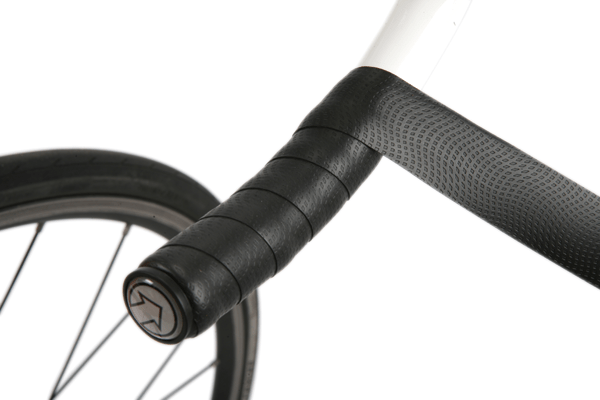
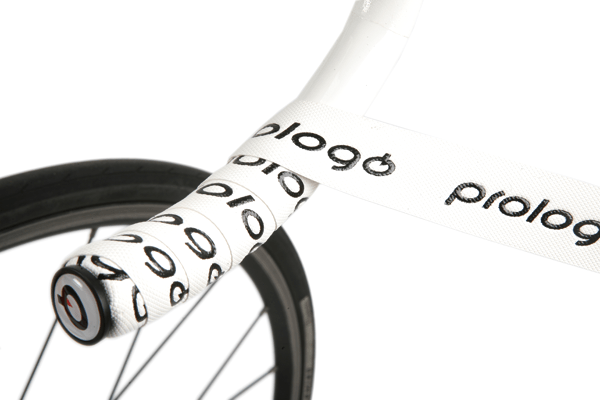
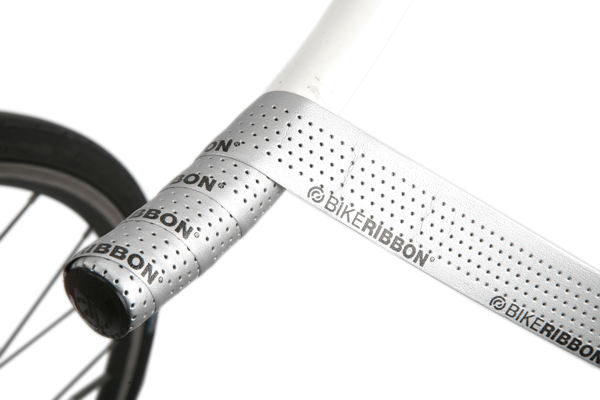
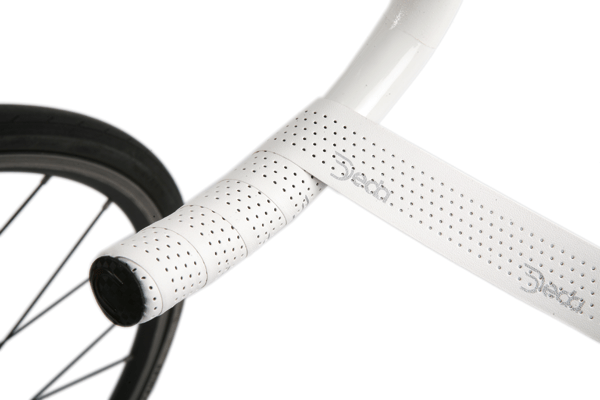
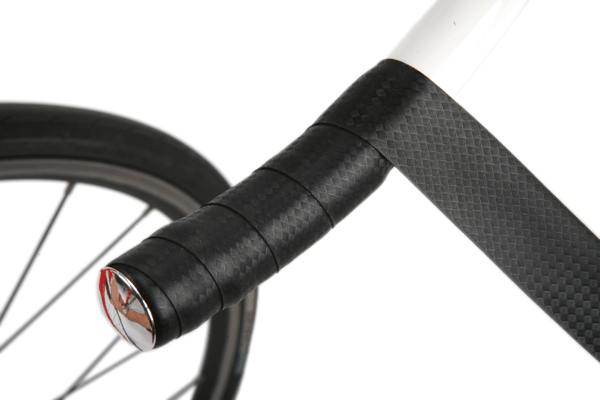
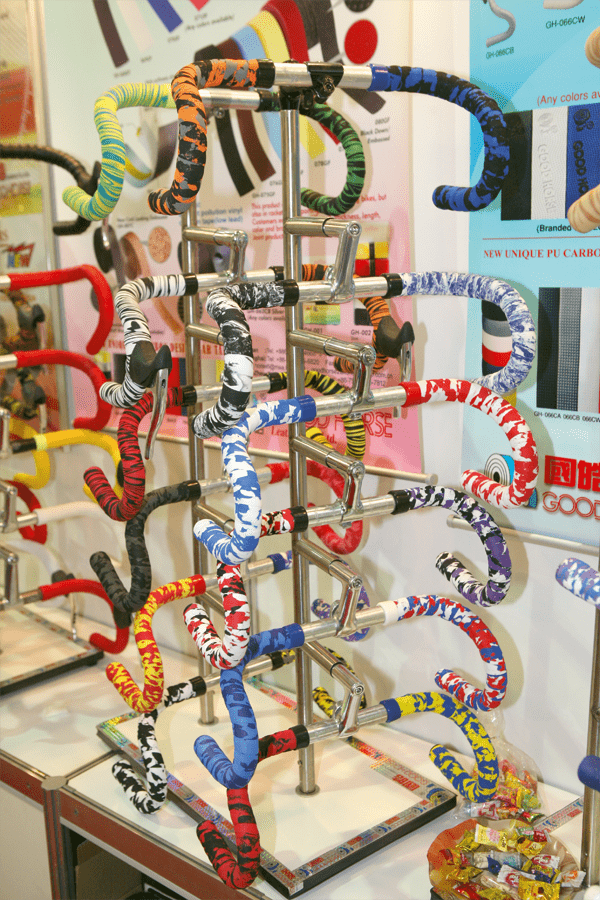
 It always amazes me when I have the time to stop and think about it, that after all the technological advances in bicycle manufacture, we’re still using bar tape. You’d think someone would have invented something better by now.
Then again, there’s something delicious about taping up a pair of bars and heading out for that first ride before they get all grubby. There’s a sense of history, a golden thread, or at least a white thread, running through the ages, from rider to rider, bike to bike here to us today. And as you begin to ride, the smoothness of the new tape under your hands is an absolute delight. It makes me wonder why we don’t change it more often.
Applying new bar tape takes a bit of practice, but with perseverance you can get it just right. There are a few common mistakes to be aware of. The first is not pulling the tape tight enough. This causes a lumpy surface and should be avoided at all costs. As a rule of thumb, you should stretch the tape as much as you can without breaking it.
Secondly, try to spread it out as much as you can when wrapping. Don’t feel you have to cover half of the previous loop. Make sure you get the underside glue sticking to the bars rather than the earlier tape. This has a double benefit of letting you make lever adjustments without needing to replace your tape. While we’re on the levers, most bar tapes come with a small section to go around the lever clamp. Make sure you use it and then don’t overdo the winding in this area. Just keep going as you did up the drops.
Lastly, don’t forget to splice the last part of the tape so that it ends perpendicular to the bars. This will give you a nice neat finish. Wrap plenty of electrical tape to hold it in place and apply the manufacturer’s logo tape last. Viola! Beautiful new tape.
While we’ve just got six models on test here, you’ll find once you go shopping, there’s a vast array to choose from. In fact, that’s another pleasure, choosing a new type. And all for about $30. You’ve gotta be happy with that!
